
BLOG
lisa smith photography
Inspiring. Informative. Real.
December 30, 2024
Looking for exciting ways to entertain your family this weekend? New Hampshire offers endless possibilities for fun and memorable experiences. From outdoor adventures to indoor gyms, this list of things to do in NH this weekend with kids has you covered. Whether you’re a local or visiting for the weekend, these ideas are perfect for making the most of your time.
1. Explore Your Local Library
Libraries in NH are busting with activities for kids. From storytime and craft workshops to STEM events, there’s always something to enjoy. Libraries like the Epsom Public Library or Nashua Public Library offer welcoming spaces with interactive toys for designed just for children.
Storytime at our local library was always my go-to activity when my kids were toddlers. It was a great way to get out of the house without spending much. The kids loved the books, crafts, and the play room allowed them to burn off some energy while I got the chance to chat with other parents. It was a simple outing, but it made a big difference in breaking up the routine and offering a bit of social time for everyone.
2. Bounce Into an Indoor Playground
On a rainy weekend, indoor playgrounds and trampoline parks save the day. Head to Altitude Trampoline Park, Krazy Kids in Concord or Fun City in Goffstown. For the little kids (6 years and below) Cowabunga’s in Manchester is perfect for a day filled with climbing, bouncing, and sliding.
These spots are perfect for letting kids burn off energy while parents enjoy watching the fun. Don’t be surprised if you find yourself jumping in to join them!
3. Schedule a Family Photoshoot
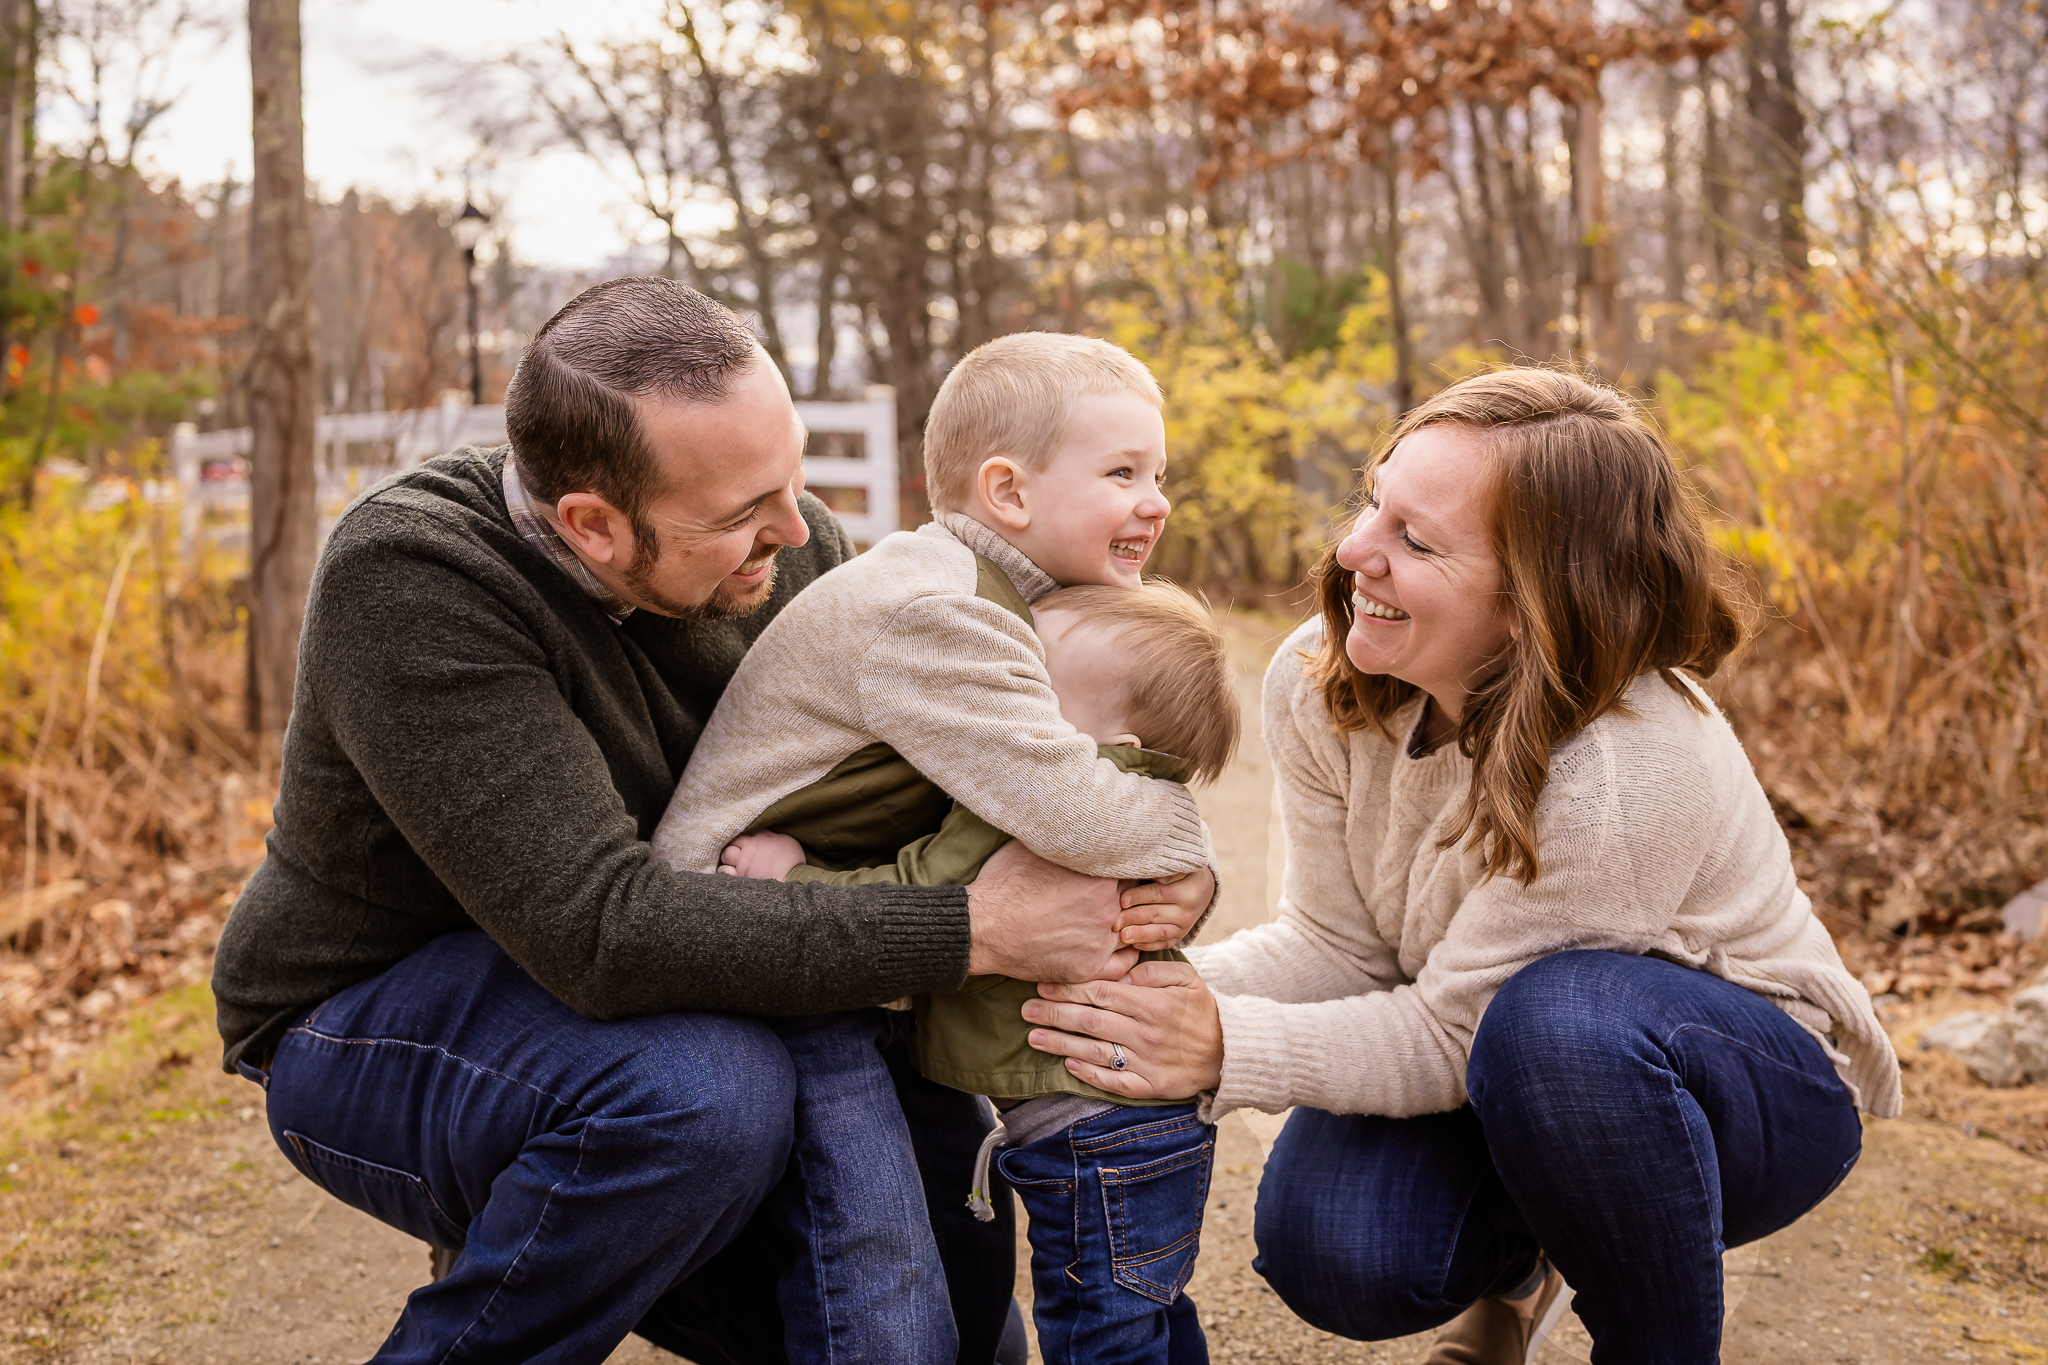
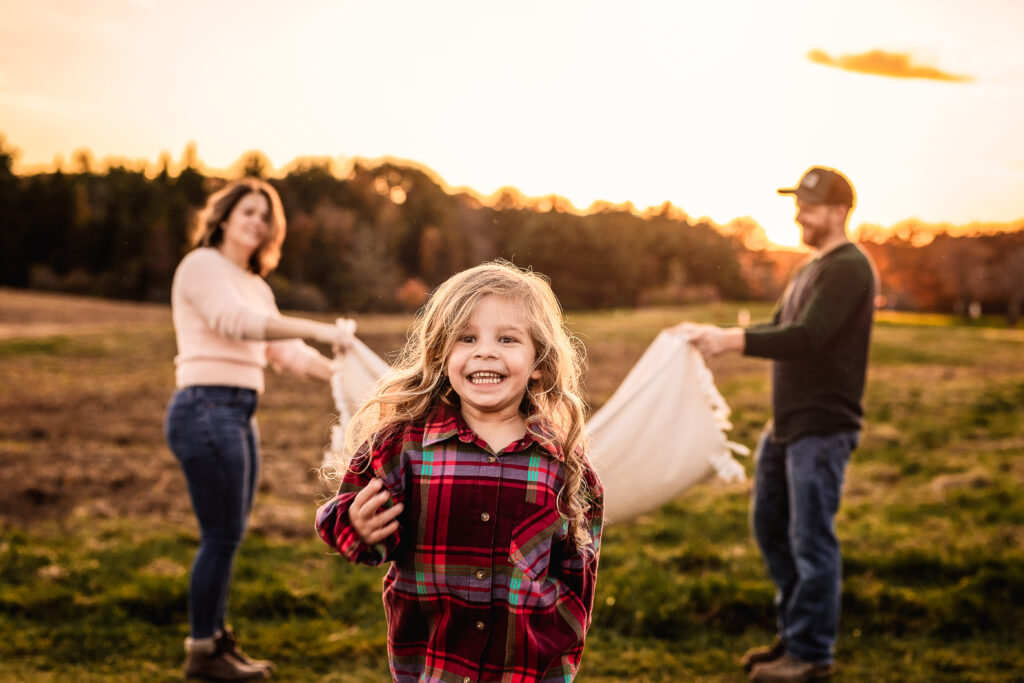
Capture your family’s special moments with a professional photoshoot. New Hampshire’s stunning landscapes, particularly during the fall and spring, make it an ideal backdrop for timeless family photos.
My family photoshoots are all about fun, laughter, and capturing your family just as you are! I love creating an atmosphere where everyone feels relaxed and can enjoy themselves. We’ll play games like parachute, airplane, and follow the leader to keep your kids engaged and having a blast. These moments of joy and connection make for the most genuine and heartwarming photos!
4. Hit the Trails for a Family Hike
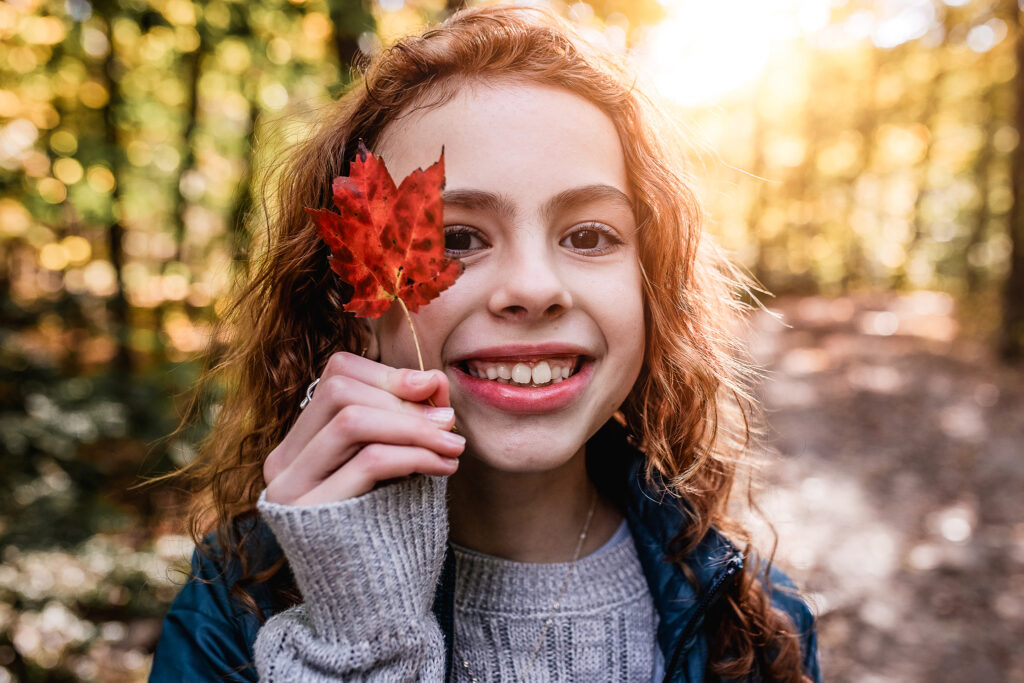
New Hampshire’s hiking trails offer beautiful views and family-friendly routes that make for the perfect weekend adventure. Check out Beede Falls in Sandwich or the Odiorne Point trails in Rye.
My personal favorite? Pitcher Mountain. The hike is a bit steep but short and extremely rewarding, with breathtaking views at the summit. Pack some snacks, lace up your hiking boots, and enjoy the fresh air with your family. It’s one of the best things to do in NH this weekend if you’re looking to connect with nature.
5. Play at an Arcade
A trip to an arcade is a guaranteed hit with kids of all ages. Funspot in Laconia, the largest arcade in the world, is a must-visit. It features everything from vintage pinball to modern video games.
Another great option is Block Party Social in Hooksett, NH, where you can enjoy arcade games, a rope course, and even axe throwing for the adults. These spots make for a fun-filled weekend outing that’s hard to beat.
Pro Tip: When I need things to do in NH this weekend with kids without spending a dime, I head to Best Buy. The kids love exploring all the gadgets and computers, and the display Apple computers are a hit—they can hop on and play video games to their hearts’ content. It’s a simple, budget-friendly outing that keeps them entertained!
6. Visit an Aquarium or Science Center
For an outing that’s both educational and fun, consider visiting a science center or aquarium. The SEE Science Center in Manchester offers hands-on exhibits that kids will love. (Pro tip: Check with your local library for free passes to SEE!) If your kids are fascinated by marine life, the Living Shores Aquarium in North Conway is another fantastic option.
I still remember our first trip to Living Shores Aquarium. When we walked in, my initial thought was, This place is small—we’ll be done in 15 minutes. But to my surprise, we ended up staying for two hours! The kids had a blast petting stingrays, watching playful otters, and exploring the touch tanks. It was an unforgettable experience!
7. Take a Dip at a Hotel Pool
Who says a vacation has to involve travel? Many hotels in NH offer day passes to their pools, giving you the chance to enjoy a swim in the middle of winter! A pool day is an easy yet exciting way to spend a weekend with your family.

8. Spend Time with Animals on a Farm
New Hampshire has several family-friendly farms that offer petting zoos, hayrides, and seasonal activities. Beech Hill Farm in Concord and Charmingfare Farm in Candia are great choices for meeting and feeding animals like goats, sheep, and rabbits.
Pro Tip: Need free things to do in NH this weekend with kids? Visit a pet store! They’ll love watching the fish and checking out the small animals like snakes, rabbits and guinea pigs. It’s a quick, fun and low-key outing that doesn’t cost a thing.
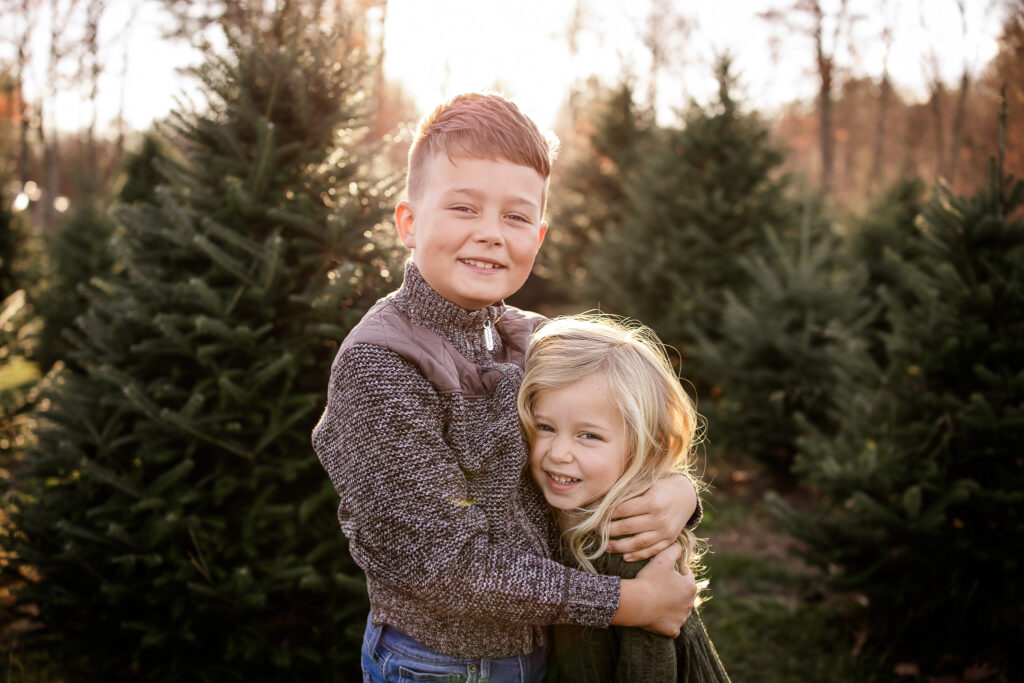
9. Go Bowling
Bowling is a timeless, family-friendly activity. Head to spots like Strikers East in Raymond or Dover Bowl for a fun mix of friendly competition and laughs. Many alleys offer bumper lanes and lightweight balls, making it enjoyable for all ages. For younger kids, try candlepin bowling at Boutwell’s in Concord—its smaller, more manageable balls are perfect for tiny hands. Plus, it’s an ideal indoor activity for rainy weekends!
10. Check Out Seasonal Events and Festivals
One of the best things to do in NH this weekend with kids is to take advantage of the state’s seasonal events. Whether it’s a summer fair, a fall pumpkin festival, or a winter carnival, there’s always something happening in New Hampshire.
Check out Macaroni Kids to find events near you.
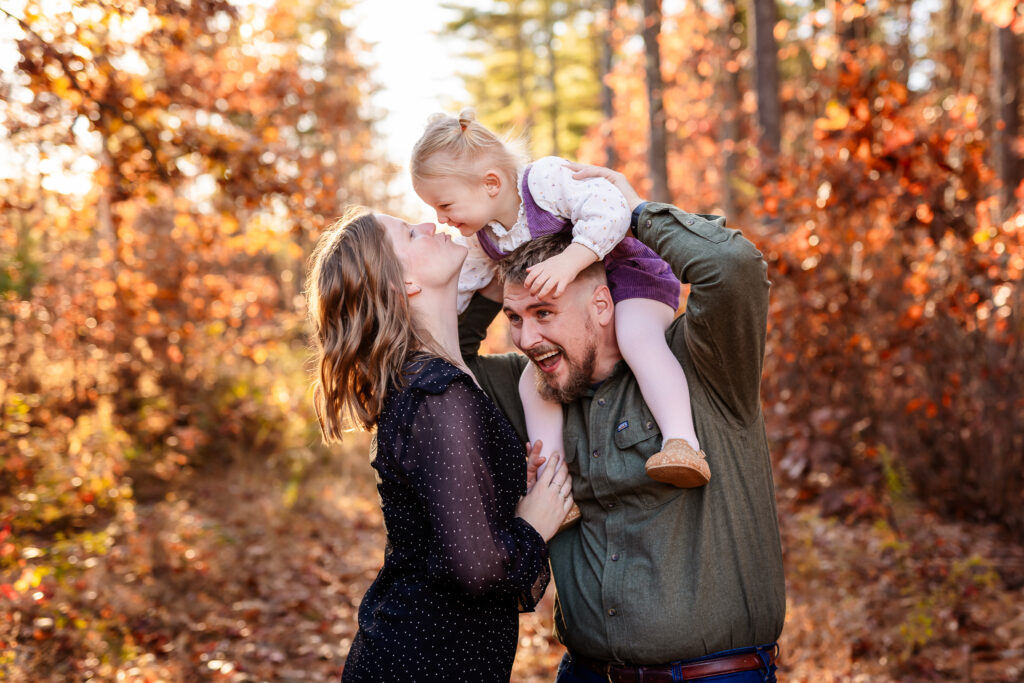
Things to Do in NH this Weekend with Kids
New Hampshire is a fantastic place to spend time with your family, offering everything from nature walks and fun parks to educational outings and seasonal events. Whether you’re looking to explore the outdoors or relax indoors, this list of things to do in NH this weekend has something for everyone.
So, what’s on your agenda this weekend? Try one (or a few!) of these activities, and make it a weekend to remember with your kids.

November 15, 2024
Your wedding ceremony is the heart of your big day—a deeply personal and emotional moment where your love story takes center stage. As a wedding photographer, I’ve had the privilege of capturing countless ceremonies, and I want to share five practical tips to help make your ceremony picture-perfect and stress-free.
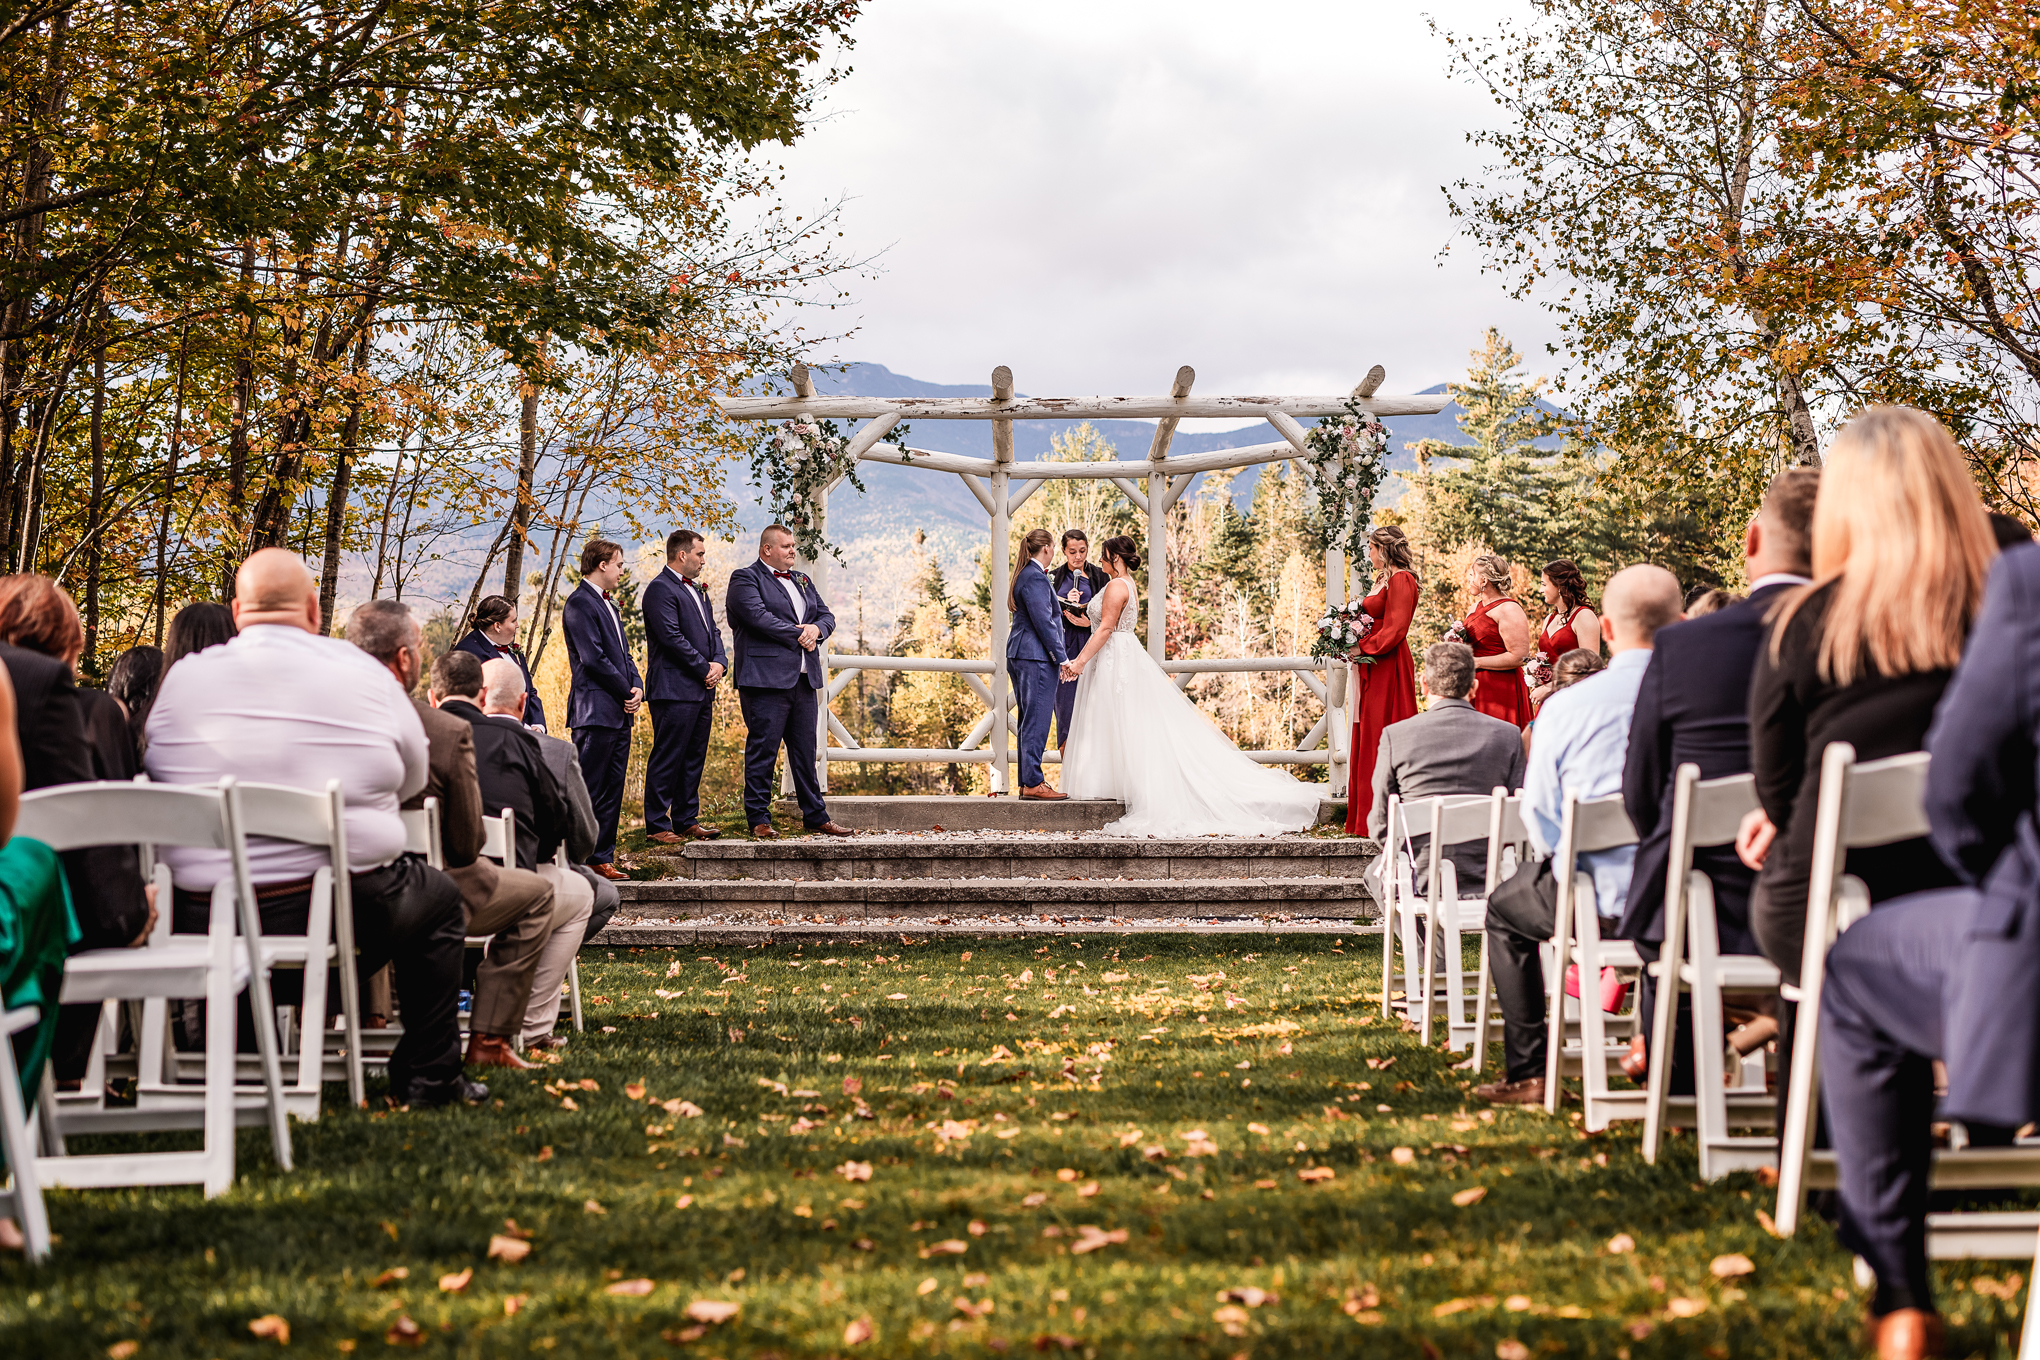
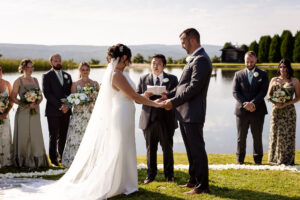
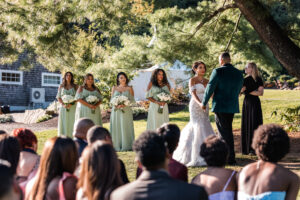
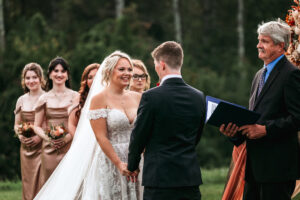
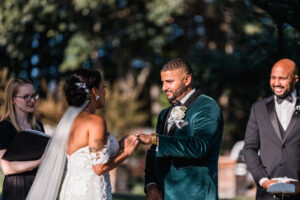
1. Hold Hands
There’s something truly powerful about holding hands during your ceremony. Not only does it symbolize your connection and support for one another, but it also helps create beautiful, natural photos. When you’re holding hands, your body language says everything—your love, your excitement, and even a touch of those nervous giggles!
From a photographer’s perspective, holding hands also keeps you close together, making it easier to capture both of your expressions in one shot. So when in doubt, reach out for your partner’s hand!


2. Have the Officiant Ask Guests to Be Seated
If your officiant is a friend or relative, it’s easy to overlook small details like asking your guests to sit down. However, this is crucial for both the flow of your ceremony and your wedding photos.
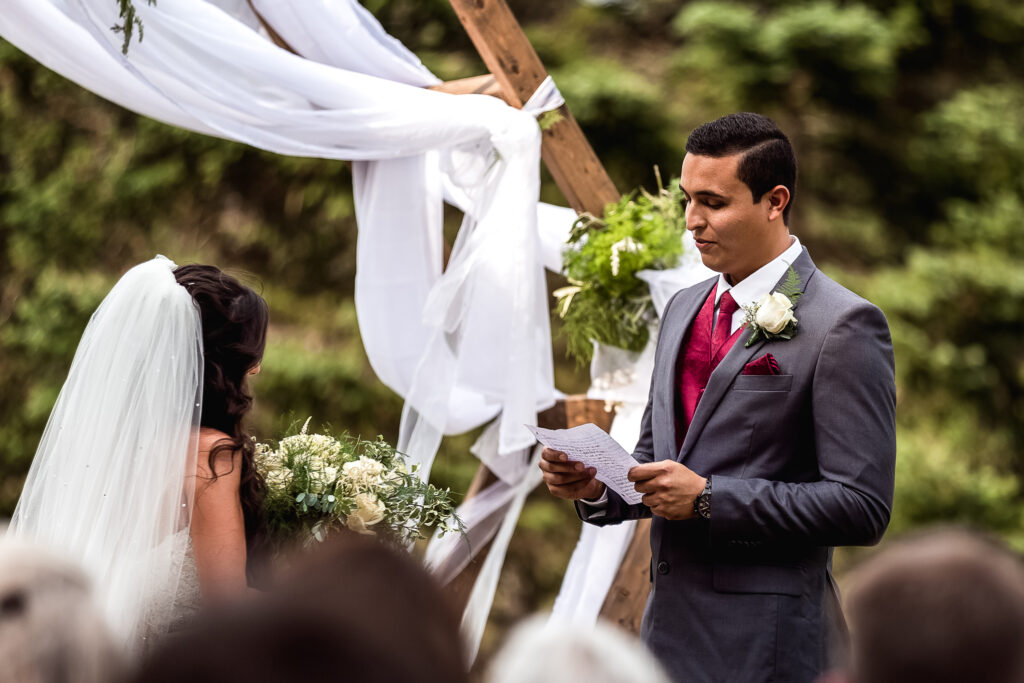
As a shorter photographer (yes, I own it!), nothing is more challenging than trying to photograph the ceremony while guests are standing. I want to be able to capture every beautiful moment without a sea of heads blocking the view. Make sure your officiant gives a warm reminder for everyone to take their seats after the bride walks down the aisle—it’s a simple but essential step!
3. Practice Your First Kiss
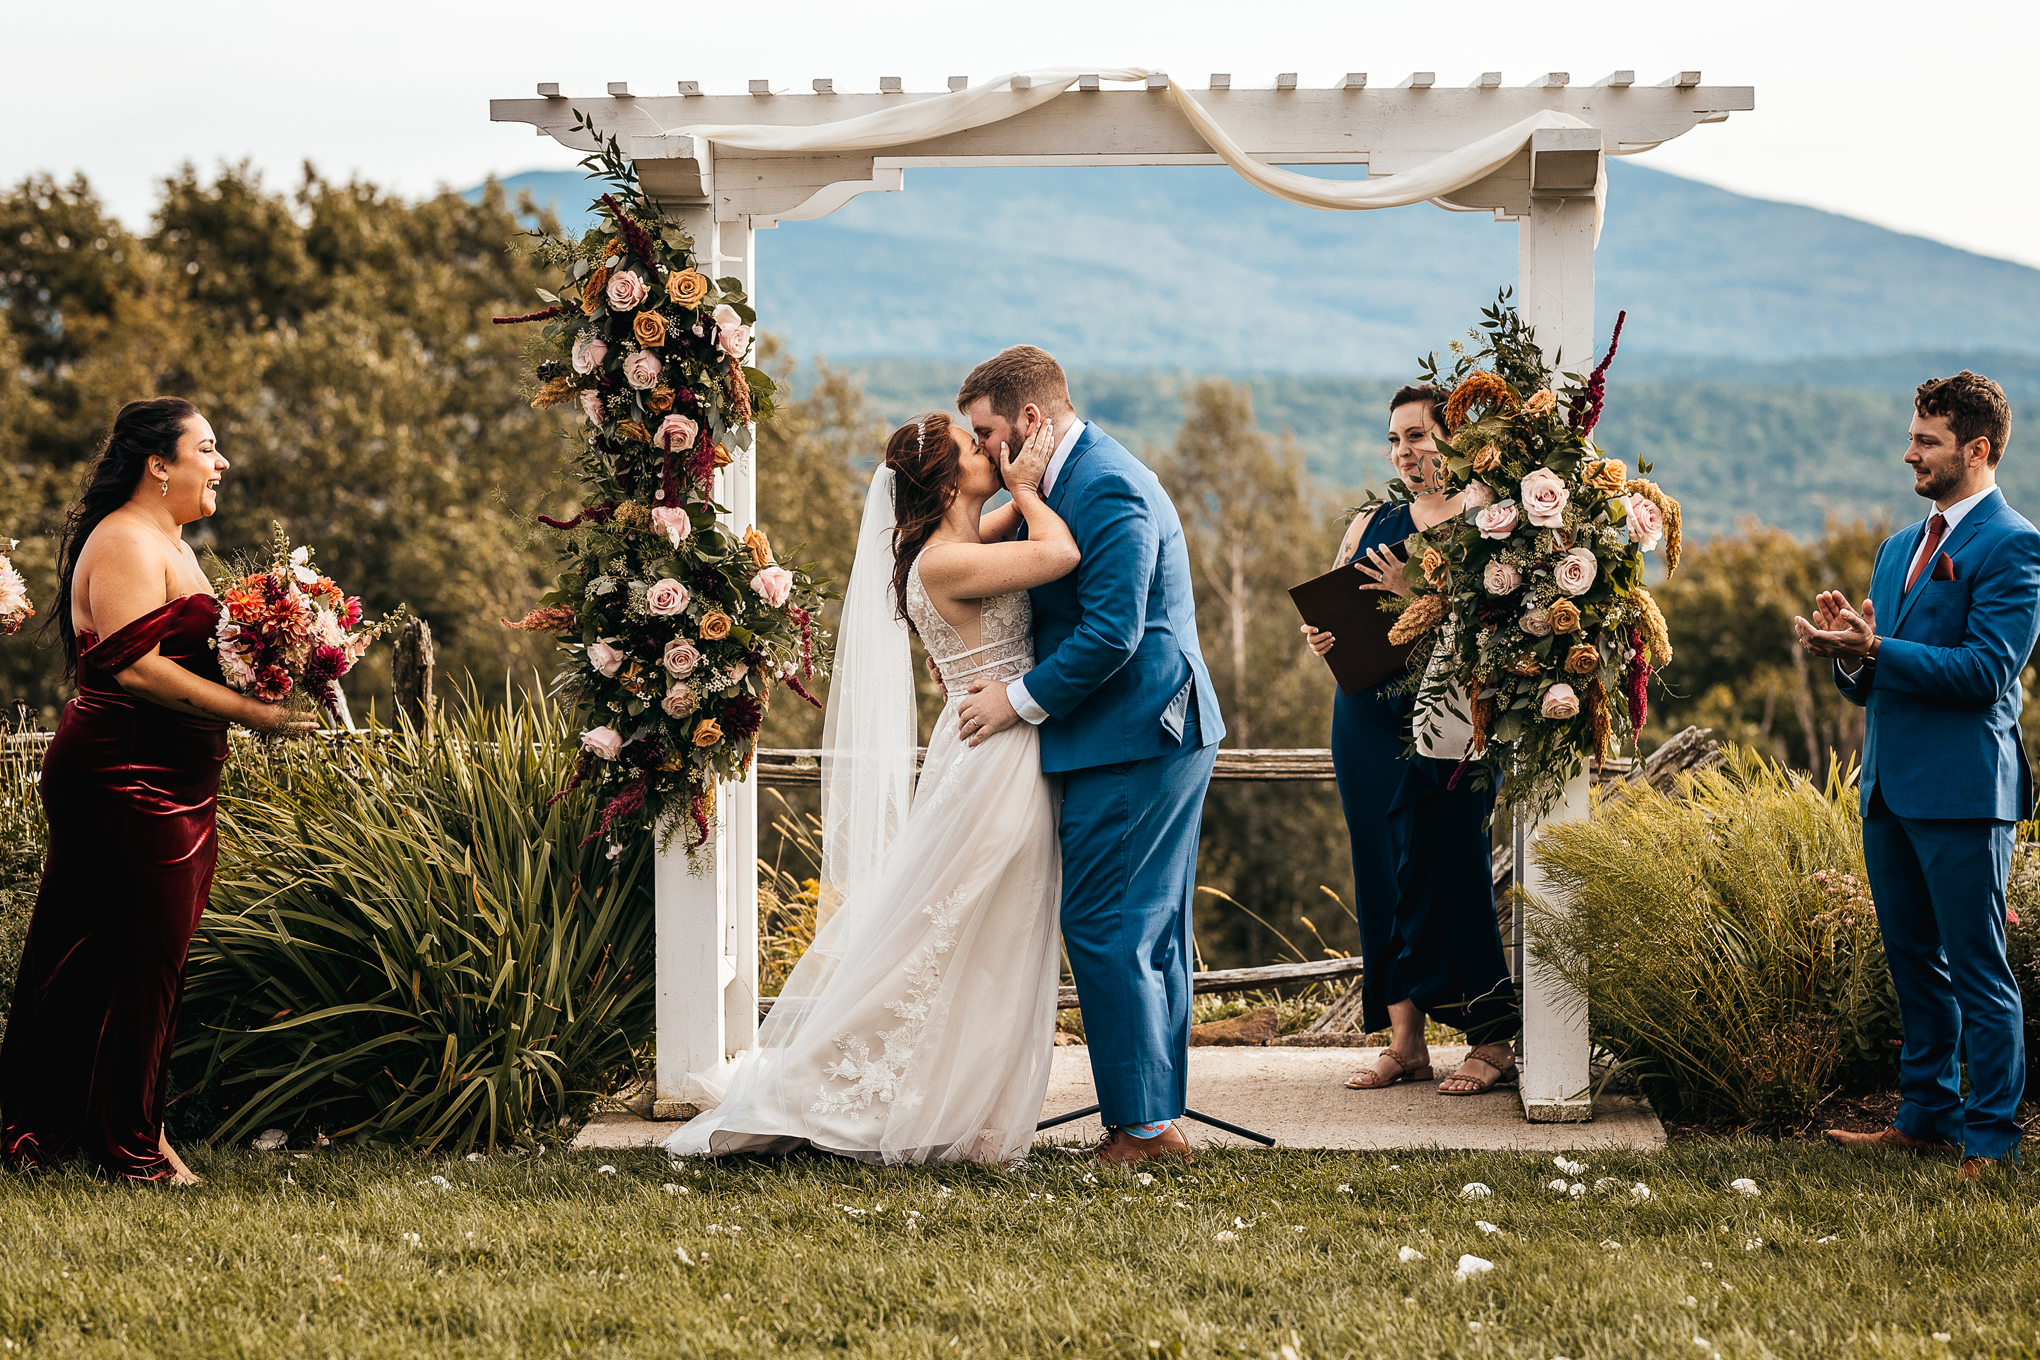
Confession time: I didn’t love my own first kiss photos! Looking back, I wish I had taken a moment to practice. While the kiss is spontaneous and romantic, a quick practice session before the big day can make all the difference.
Think about the placement of your hands and arms, and how you’ll lean in. You don’t need to make it overly staged, but even a little practice can help you both feel more confident and ensure the moment looks as amazing as it feels.
4. Hold the First Kiss
Speaking of the kiss, here’s a photographer’s golden rule: Hold it for a few seconds.
When you kiss and immediately pull away, it’s easy to miss the shot. By holding your kiss for just a few extra seconds, I can capture that perfect moment—the emotion, the joy, and the cheers from your guests in the background. Trust me, you’ll be glad you did!

5. Show the Fingers When Placing the Ring
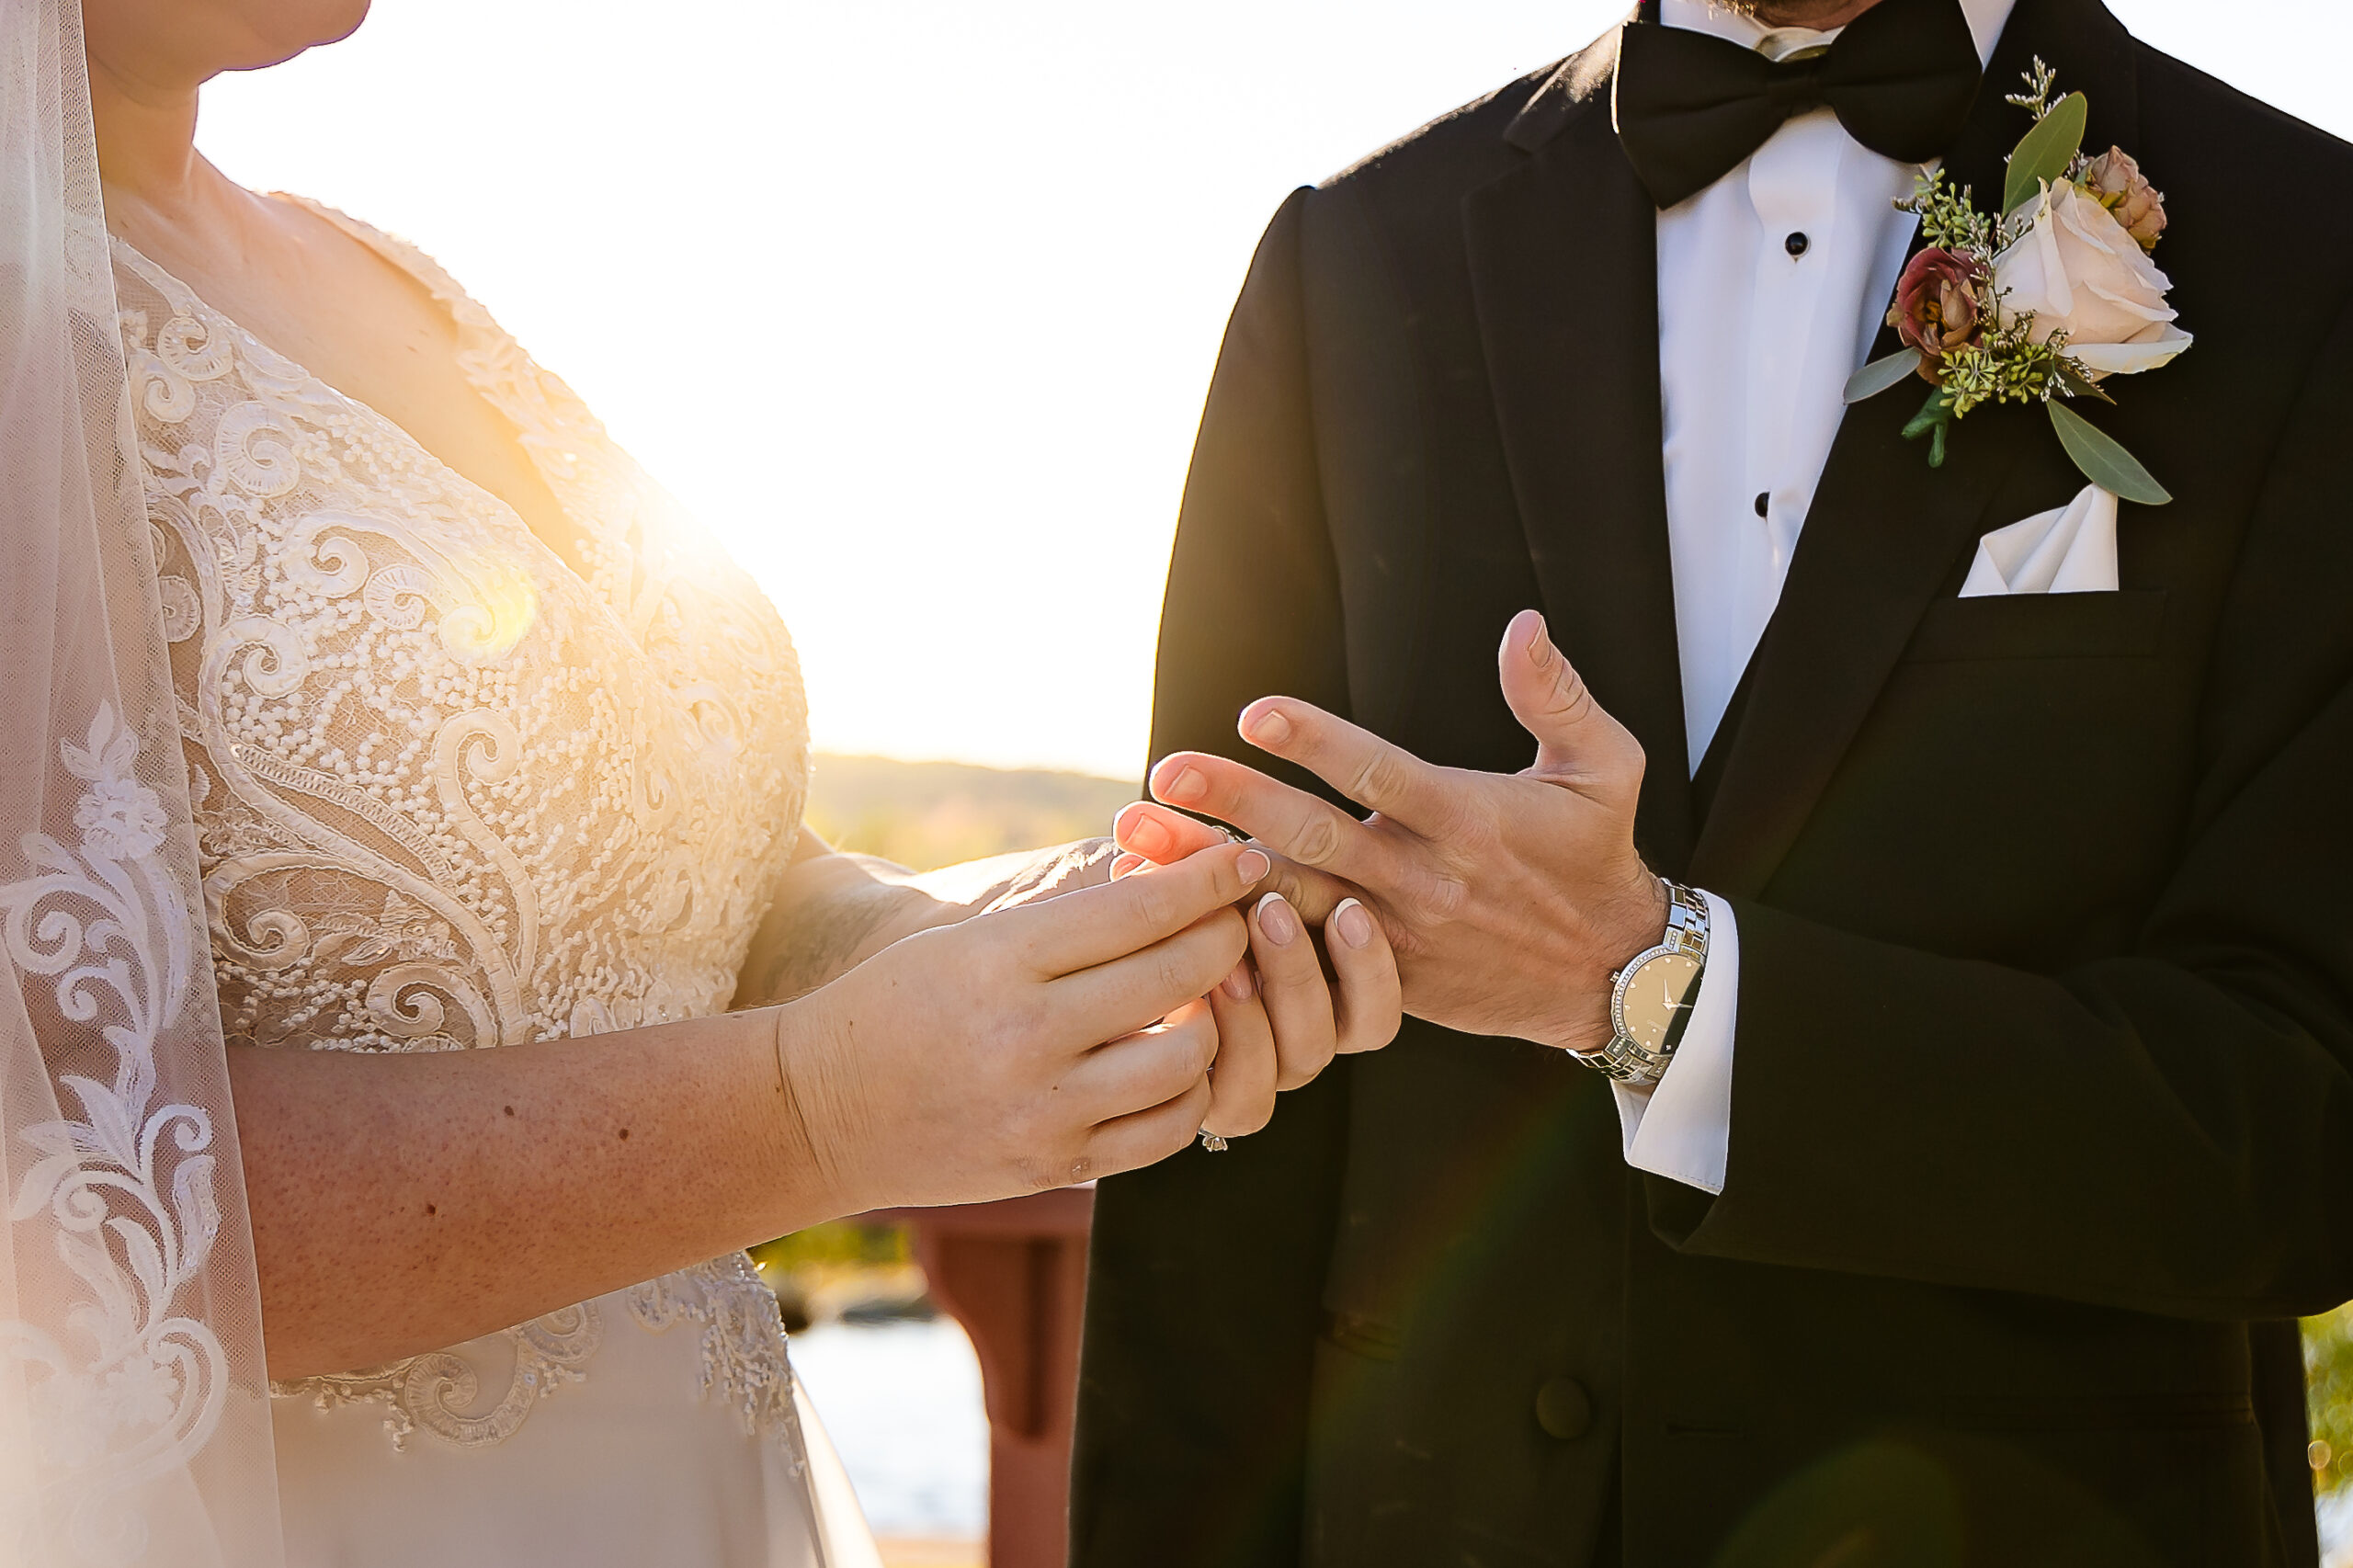
While exchanging rings is one of the most meaningful parts of your ceremony, it can also be one of the trickiest moments to photograph if the hand is hidden.
To make sure this special moment is beautifully captured, turn slightly toward your guests or hold the hand in a way that keeps the ring finger visible. It might feel a little awkward in the moment, but the resulting photos will be stunning and timeless!



Bonus Tip: Perfect the Mid-Aisle Dip Kiss
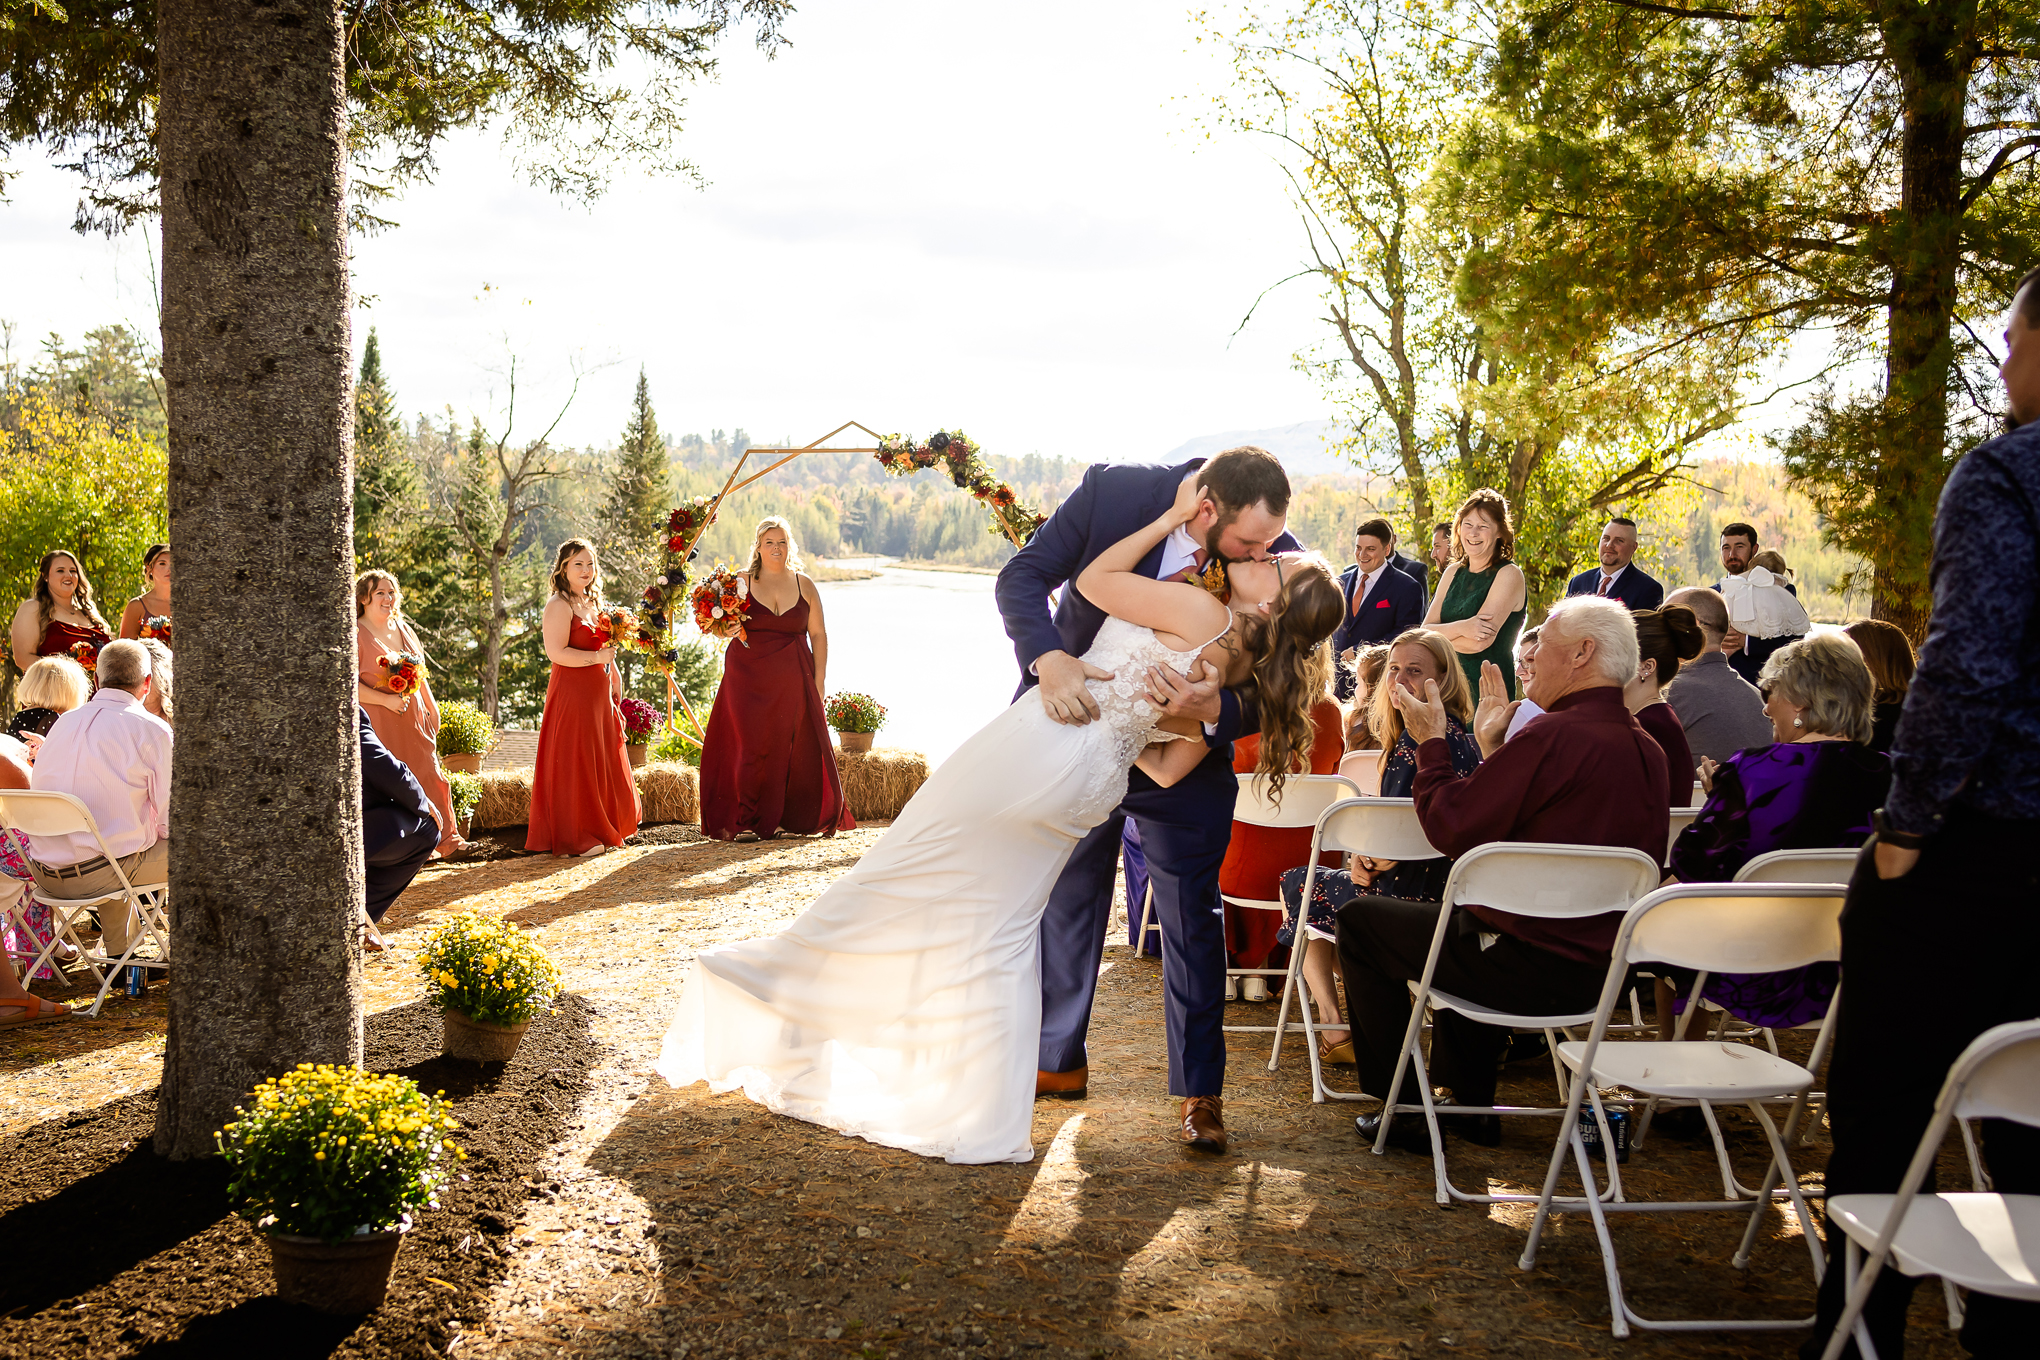
Dreaming of that perfect mid-aisle dip kiss after your walk down the aisle? It’s a showstopper, and I’d love to help you nail it! Check out my 5 Expert Tips to Master the Mid-Aisle Dip Kiss for Picture-Perfect Wedding Photos
Ready to plan your wedding day photography and make every moment picture-perfect? Contact me today to start creating unforgettable memories!
NEED STYLING TIPS FOR YOUR ENGAGEMENT SESSION?
DOWNLOAD MY 5 ENGAGEMENT STYLING TIPS TO LOVE THE WAY YOU LOOK!


November 5, 2024
Nothing brings out the holiday spirit like Christmas tree farm photos! With the fresh scent of pine, rustic charm, and festive greenery, this setting creates the perfect backdrop for capturing cherished family moments. But here’s a tip every photographer knows: the right outfits can take your photos to the next level. Choosing colors, patterns, and textures that complement the scene brings everything together beautifully. Here’s your guide to selecting outfits that look stunning, feel cozy, and add that perfect touch of holiday magic to your Christmas tree farm photos.

Choose a Color Palette That Complements Christmas Tree Farm Photos
The rich greens of the trees create a cozy, natural setting, and choosing colors that contrast with this background will make everyone stand out beautifully. Here are a few holiday-inspired color ideas that work perfectly for Christmas tree farm photos:
- Deep Reds and Burgundy: These classic holiday colors pop beautifully against the greenery and add a cozy warmth to your photos.
- Soft Neutrals and Creams: Colors like ivory, tan, and beige are timeless and bring a softness that works especially well if you want a more classic, natural look.
- Earthy Greens and Forest Tones: If you prefer a monochromatic look, stick with deep, earthy greens. But make sure to add contrast with accessories or pops of lighter colors so everyone doesn’t blend into the background.
A pop of color is a must for Christmas tree farm photos, and here’s why: the contrast draws the eye and adds a focal point, giving your photos a lively, balanced feel. Think of little accents like a red scarf, a cozy mustard cardigan, or bright mittens—these small touches make a big impact!
Patterns that Work for Christmas Tree Farm Photos: Keep It Simple and Festive

Patterns can add charm and personality to your photos, but less is more. Here are a few ideas that are perfect for Christmas tree farm photos:
- Plaid and Flannel: These are holiday favorites that scream cozy vibes! A red or green flannel shirt is ideal for a rustic, timeless look, while subtle plaid accessories (like scarves or hats) can add festive flair without overwhelming the picture.
- Subtle Stripes: A simple striped sweater in coordinating colors works beautifully, especially if you’re layering with other textures or solids.
- Avoid Large Logos and Busy Patterns: Bold logos or intricate patterns can be distracting and take away from the cozy holiday feel. Keep patterns simple so the focus stays on your family.
For families, consider mixing in one or two subtle patterns among mostly solid colors to keep everything balanced and harmonious in your Christmas tree farm photos.
Textures That Add Dimension to Christmas Tree Farm Photos
Textures are a fantastic way to bring depth to your photos, especially in a winter setting where layers are a must. Here are some textures that work well at a tree farm:

- Chunky Knits: Sweaters, scarves, and hats made from chunky knits give a soft, inviting look that’s perfect for the holidays.
- Corduroy and Velvet: These add richness and a bit of retro flair—especially beautiful in darker colors like navy, forest green, and deep red.
- Faux Fur and Wool: Coats, vests, and earmuffs with faux fur or wool add warmth and look cozy without being too bulky.
- Denim and Leather: These classic textures add structure and contrast nicely with softer knits or scarves, perfect for kids who may not want to wear sweaters.
By mixing textures, you’ll create a photo that feels layered and dynamic—just like your family!
Why a Pop of Color is Essential for Christmas Tree Farm Photos
The Christmas tree farm is already full of deep greens, so adding a vibrant pop of color is key to creating a visually engaging image. A splash of red, mustard yellow, or even a wintery blue will help draw the eye to your family and give a festive, joyful feel to the scene. Additionally, colors like red and mustard stand out beautifully against green and add an inviting warmth that’s perfect for holiday cards and prints.

Sample Outfit Ideas for the Family
- Mom: A long flowy, burgundy or emerald green dress with a soft, skirt that has plenty of movement for those dreamy twirls. Pair it with heeled leather boots and a cozy shawl or cardigan to add warmth and texture. This look is perfect for creating a romantic, whimsical vibe in your Christmas tree farm photos.
- Dad: A dark green or cream flannel shirt, tan vest, jeans, and sturdy leather boots. Adding a knit scarf or winter hat will keep him cozy while tying into the festive palette.
- Kids: A plaid dress with tights and mini boots for a little girl, ideal for a pop of pattern and texture. For boys, a red or green sweater paired with jeans and boots, plus knit hats or mittens, adds the perfect seasonal touch.
This outfit selection will create a balanced, charming look for your Christmas tree farm photos, with colors and textures that pop against the greenery!

Final Tips for Stunning Christmas Tree Farm Photos
- Coordinate, Don’t Match: It’s best to stick with a cohesive color palette but avoid everyone wearing the exact same color or style.
- Think Comfort and Practicality: Make sure everyone is dressed warmly enough, especially little ones. The happier and more comfortable everyone is, the better the photos will turn out.
- Check the Weather: If the ground is damp or muddy, plan for boots or shoes that can handle it—better safe than sorry!
With the right outfits, your Christmas tree farm photos will be both stylish and timeless. Following these tips will help you achieve a warm, festive, and beautifully coordinated look that captures all the joy of the holiday season.
Ready to capture these precious holiday moments?
Book your Christmas tree farm session today to make memories that will last a lifetime. Spots fill up quickly, so reach out to secure your session and create beautiful, timeless holiday photos your family will cherish forever!


October 30, 2024
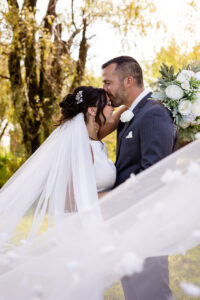
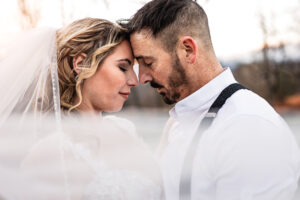
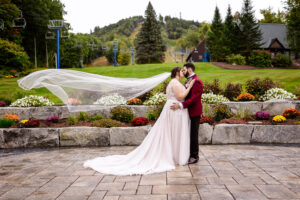
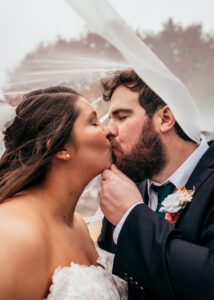
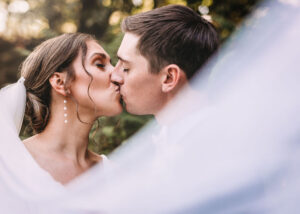
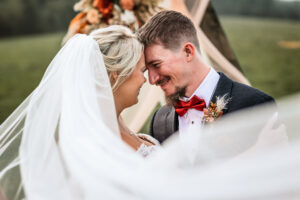
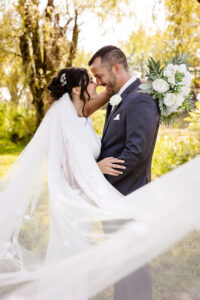
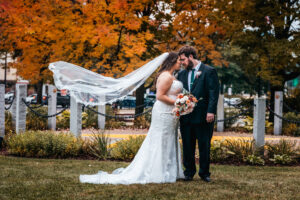
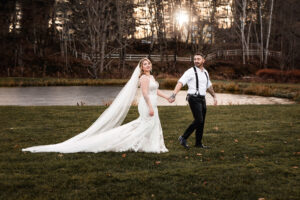
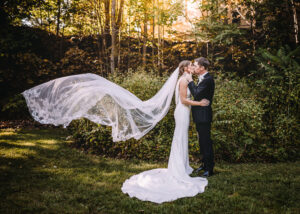
Choosing a cathedral veil for your wedding day is about more than tradition or trend—it’s a beautiful way to add elegance, romance, and a touch of magic to your photos. As a wedding photographer, I’ve seen firsthand how this timeless accessory can elevate your images and create stunning visual effects that truly make your photos stand out. Here are five reasons why a cathedral veil can be the perfect addition to your day!
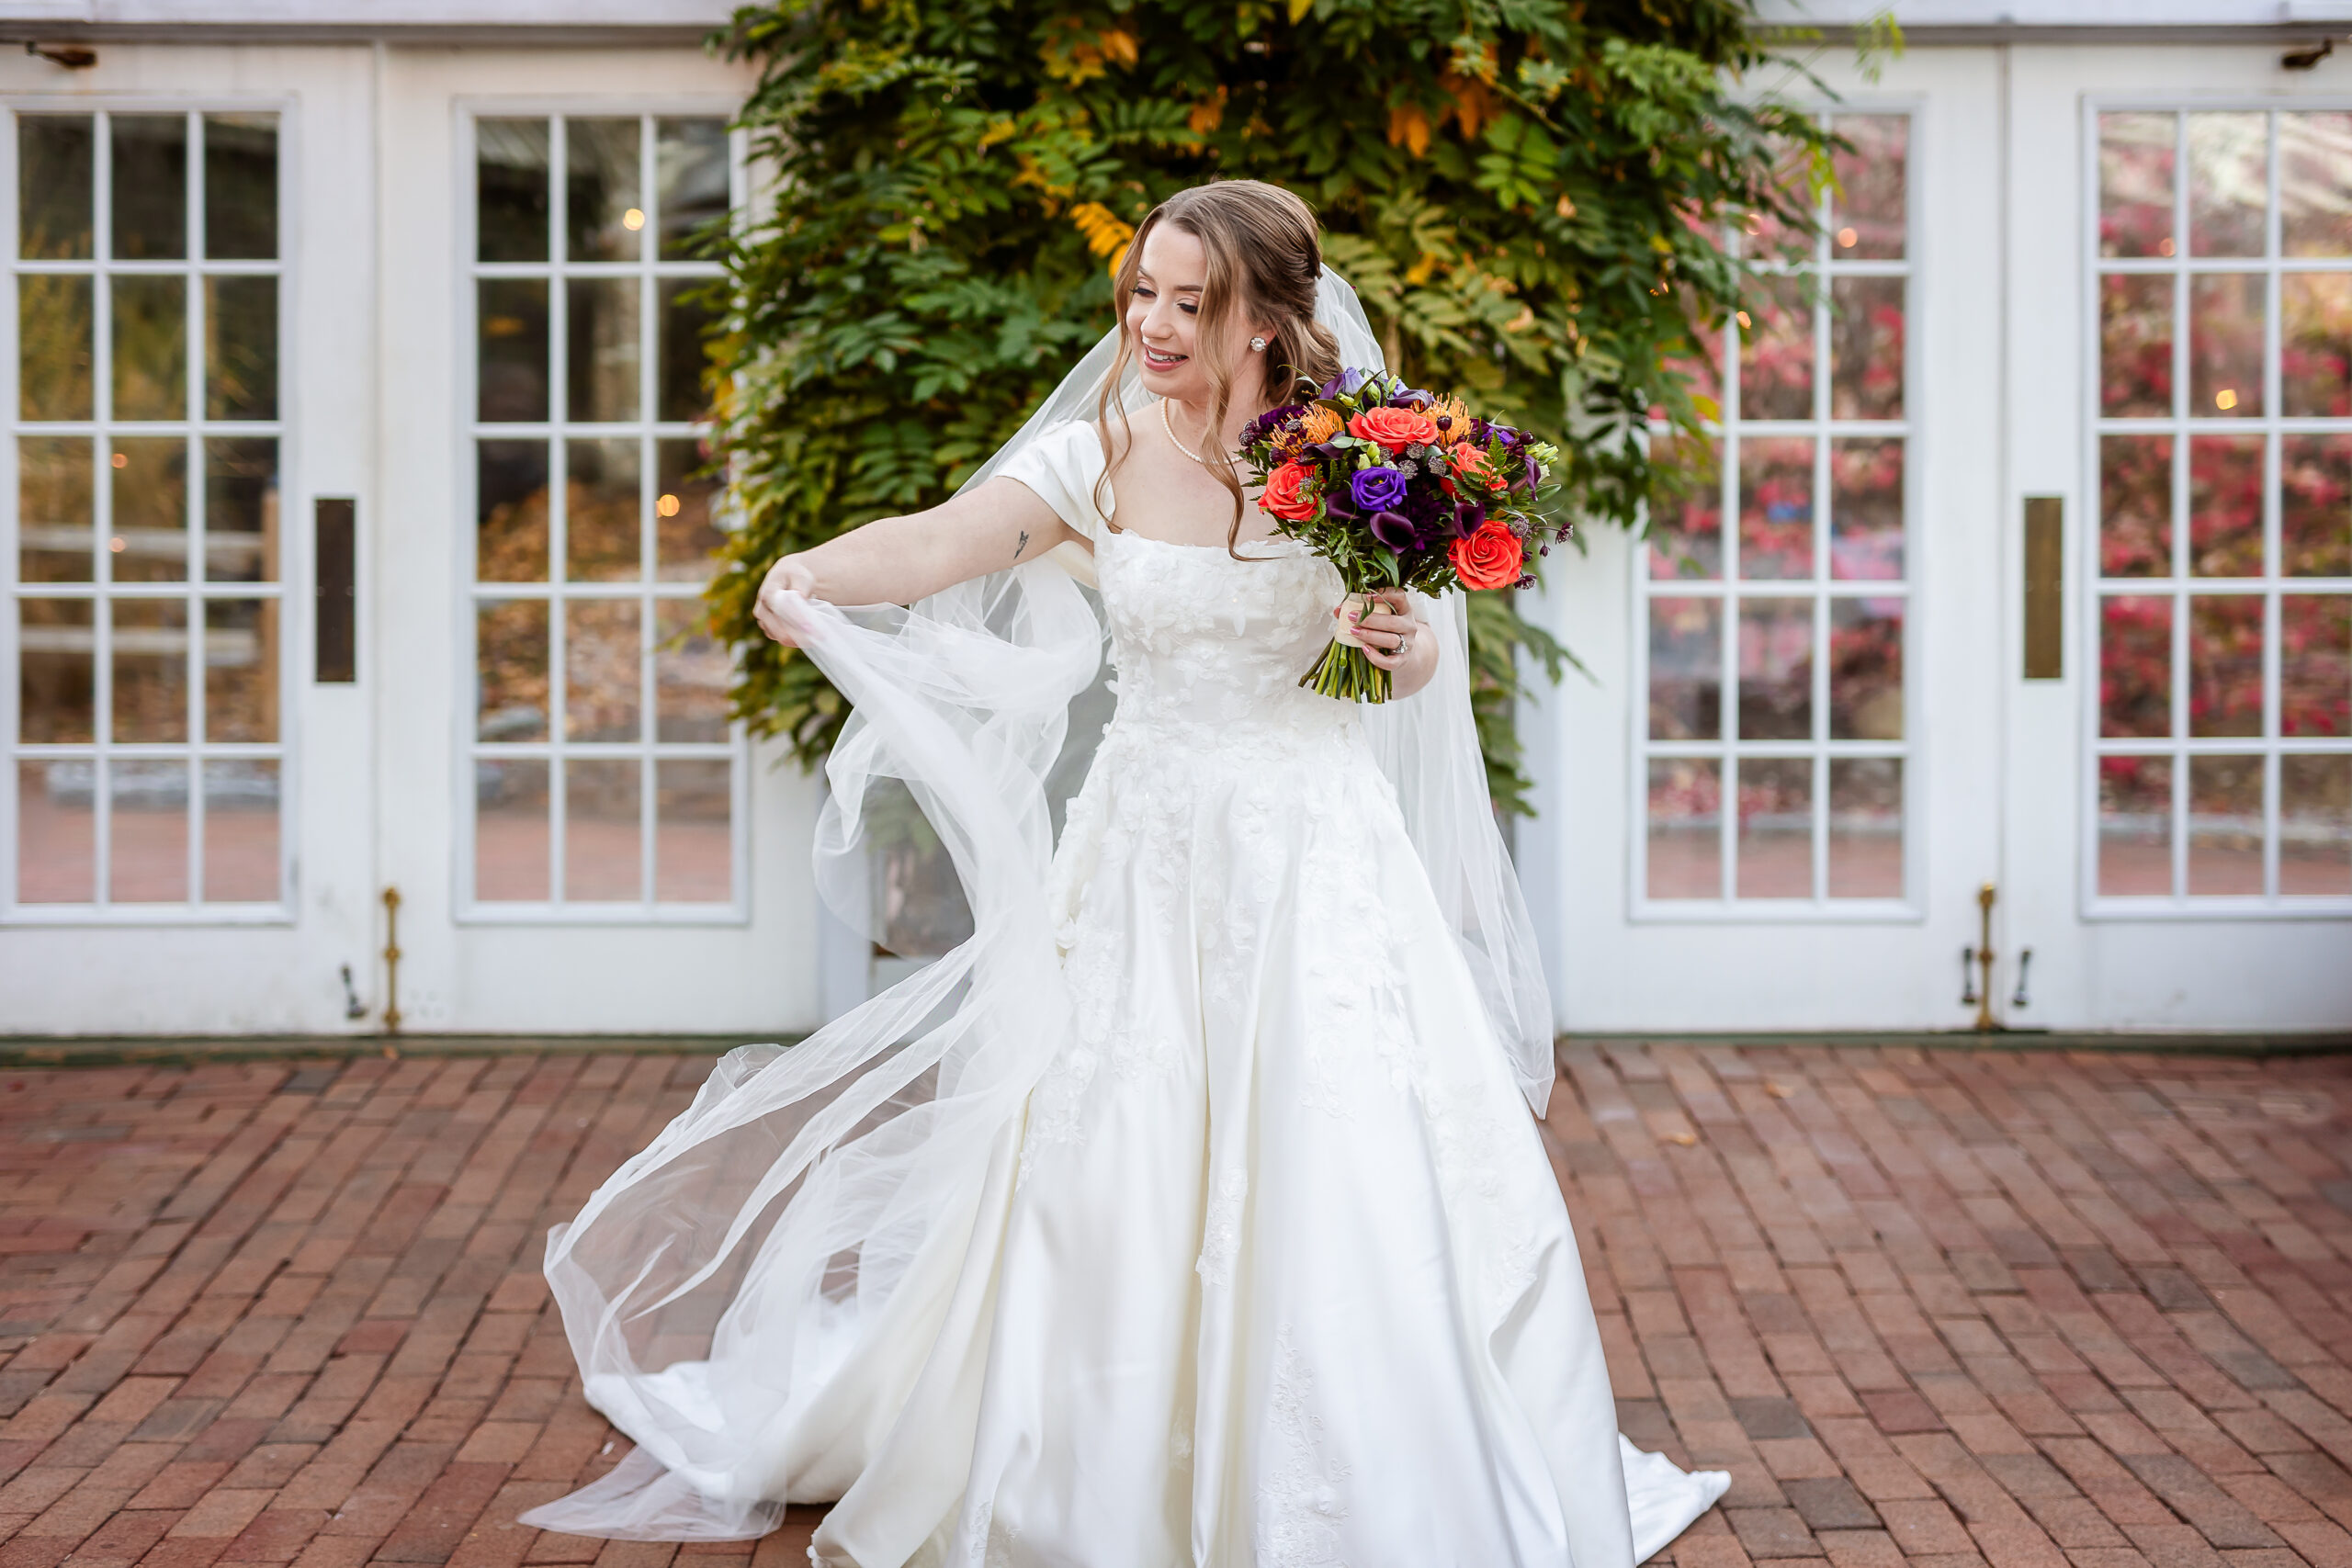
1. Creates Stunning, Romantic Movement
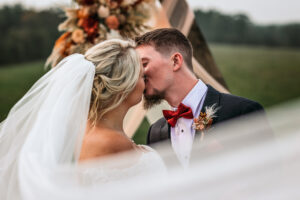
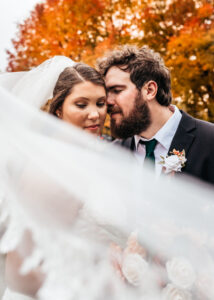
A cathedral veil naturally adds graceful movement to photos, especially in outdoor settings. The long, flowing fabric catches the breeze, adding a sense of romance and drama that’s hard to replicate. Whether it’s a gentle toss or a gust of wind, your veil becomes a dynamic part of the image, giving your photos that candid, storybook quality.
Pro Tip: Plan a few shots where the veil flows freely—these can add an soft, lively feel to your wedding album and bring out your veil’s full effect.
2. Frames Your Silhouette Beautifully
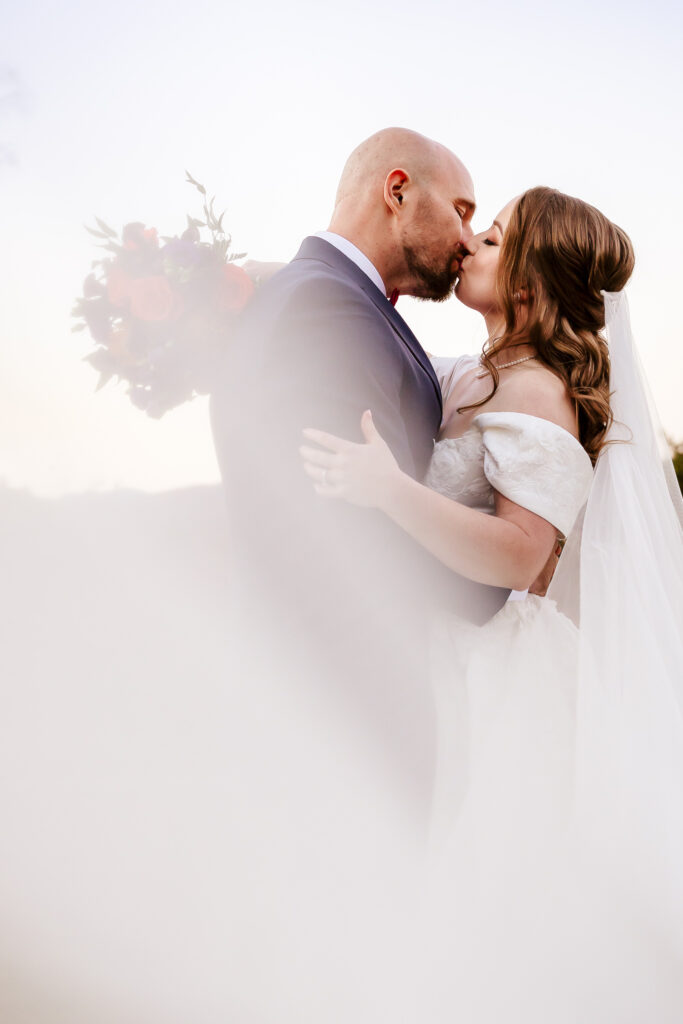
A cathedral veil works like a frame, drawing focus toward you and creating a romantic, centered look for your full-length shots. It beautifully complements the couple, especially for classic poses and bridal portraits. Whether you’re walking down the aisle, standing with your partner, or sharing a quiet moment, the veil adds that perfect touch of elegance and grace.
Pro Tip: Consider a few posed shots where the veil cascades around you, adding height and flow that draws the eye and gives your photos an extra dose of romance.
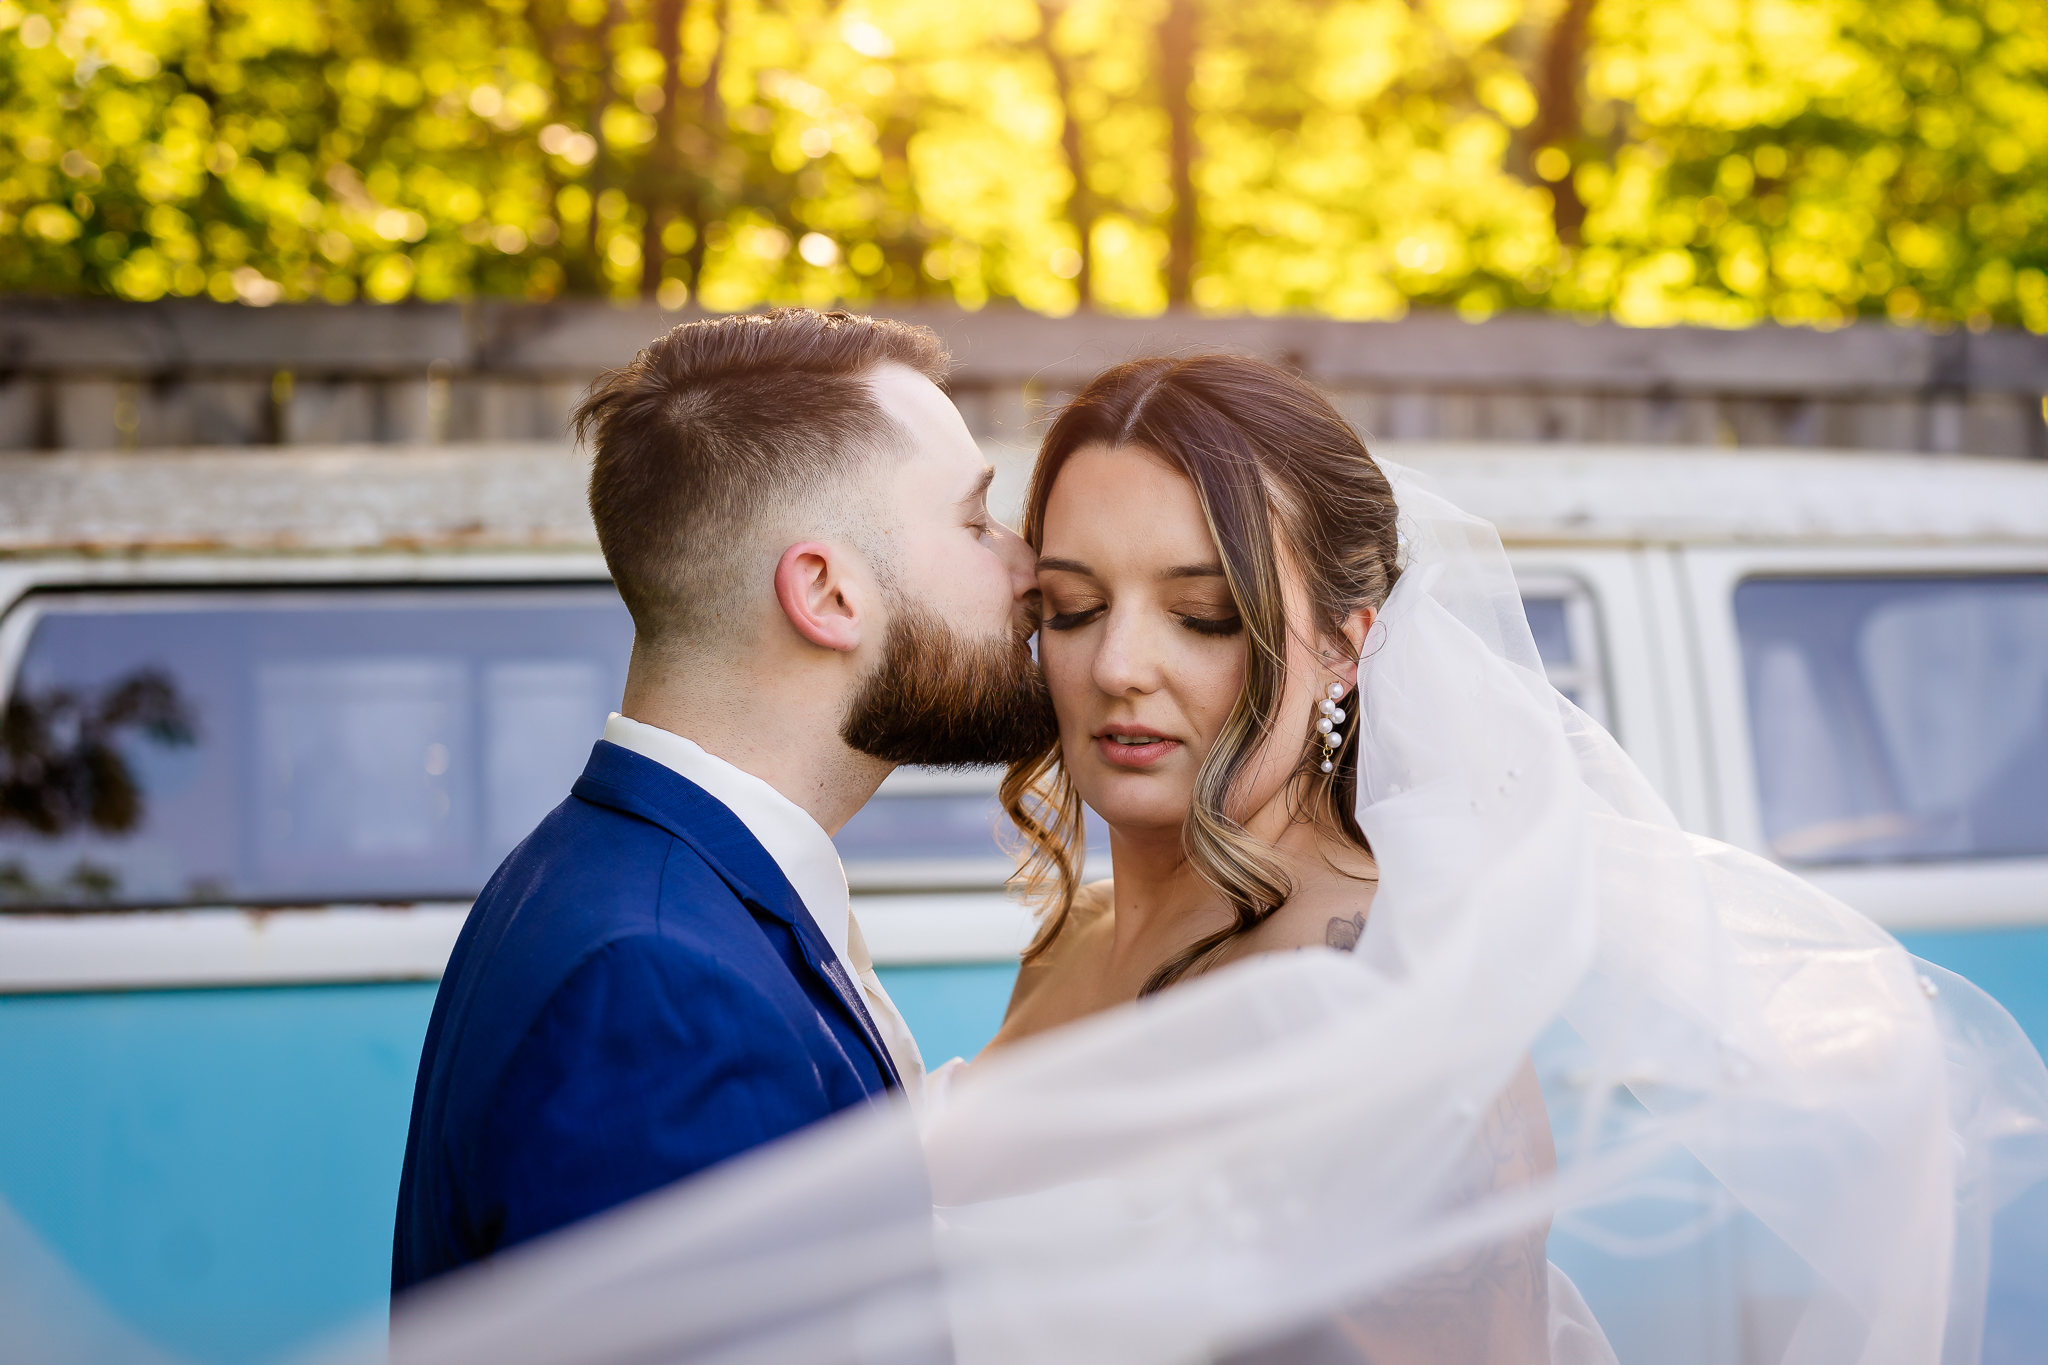
3. Adds Depth and Dimension to Close-Ups
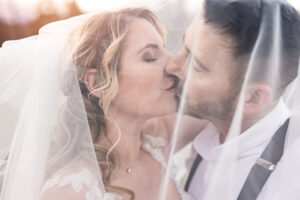
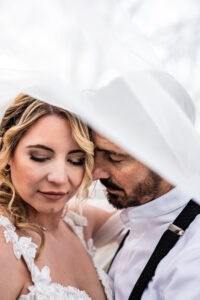
Cathedral veils are ideal for adding soft layers and dimension to close-up shots. The delicate fabric softens the background and gives close-ups an ethereal, dreamy quality. With the veil draped or slightly blurred in the foreground, you can create an almost halo-like effect around you and your partner. Making the photos feel extra magical.
Pro Tip: During your couple’s portraits, experiment with placing the veil in the frame for close-ups—it enhances the visual depth of the photo and makes your images feel more dynamic and intimate.
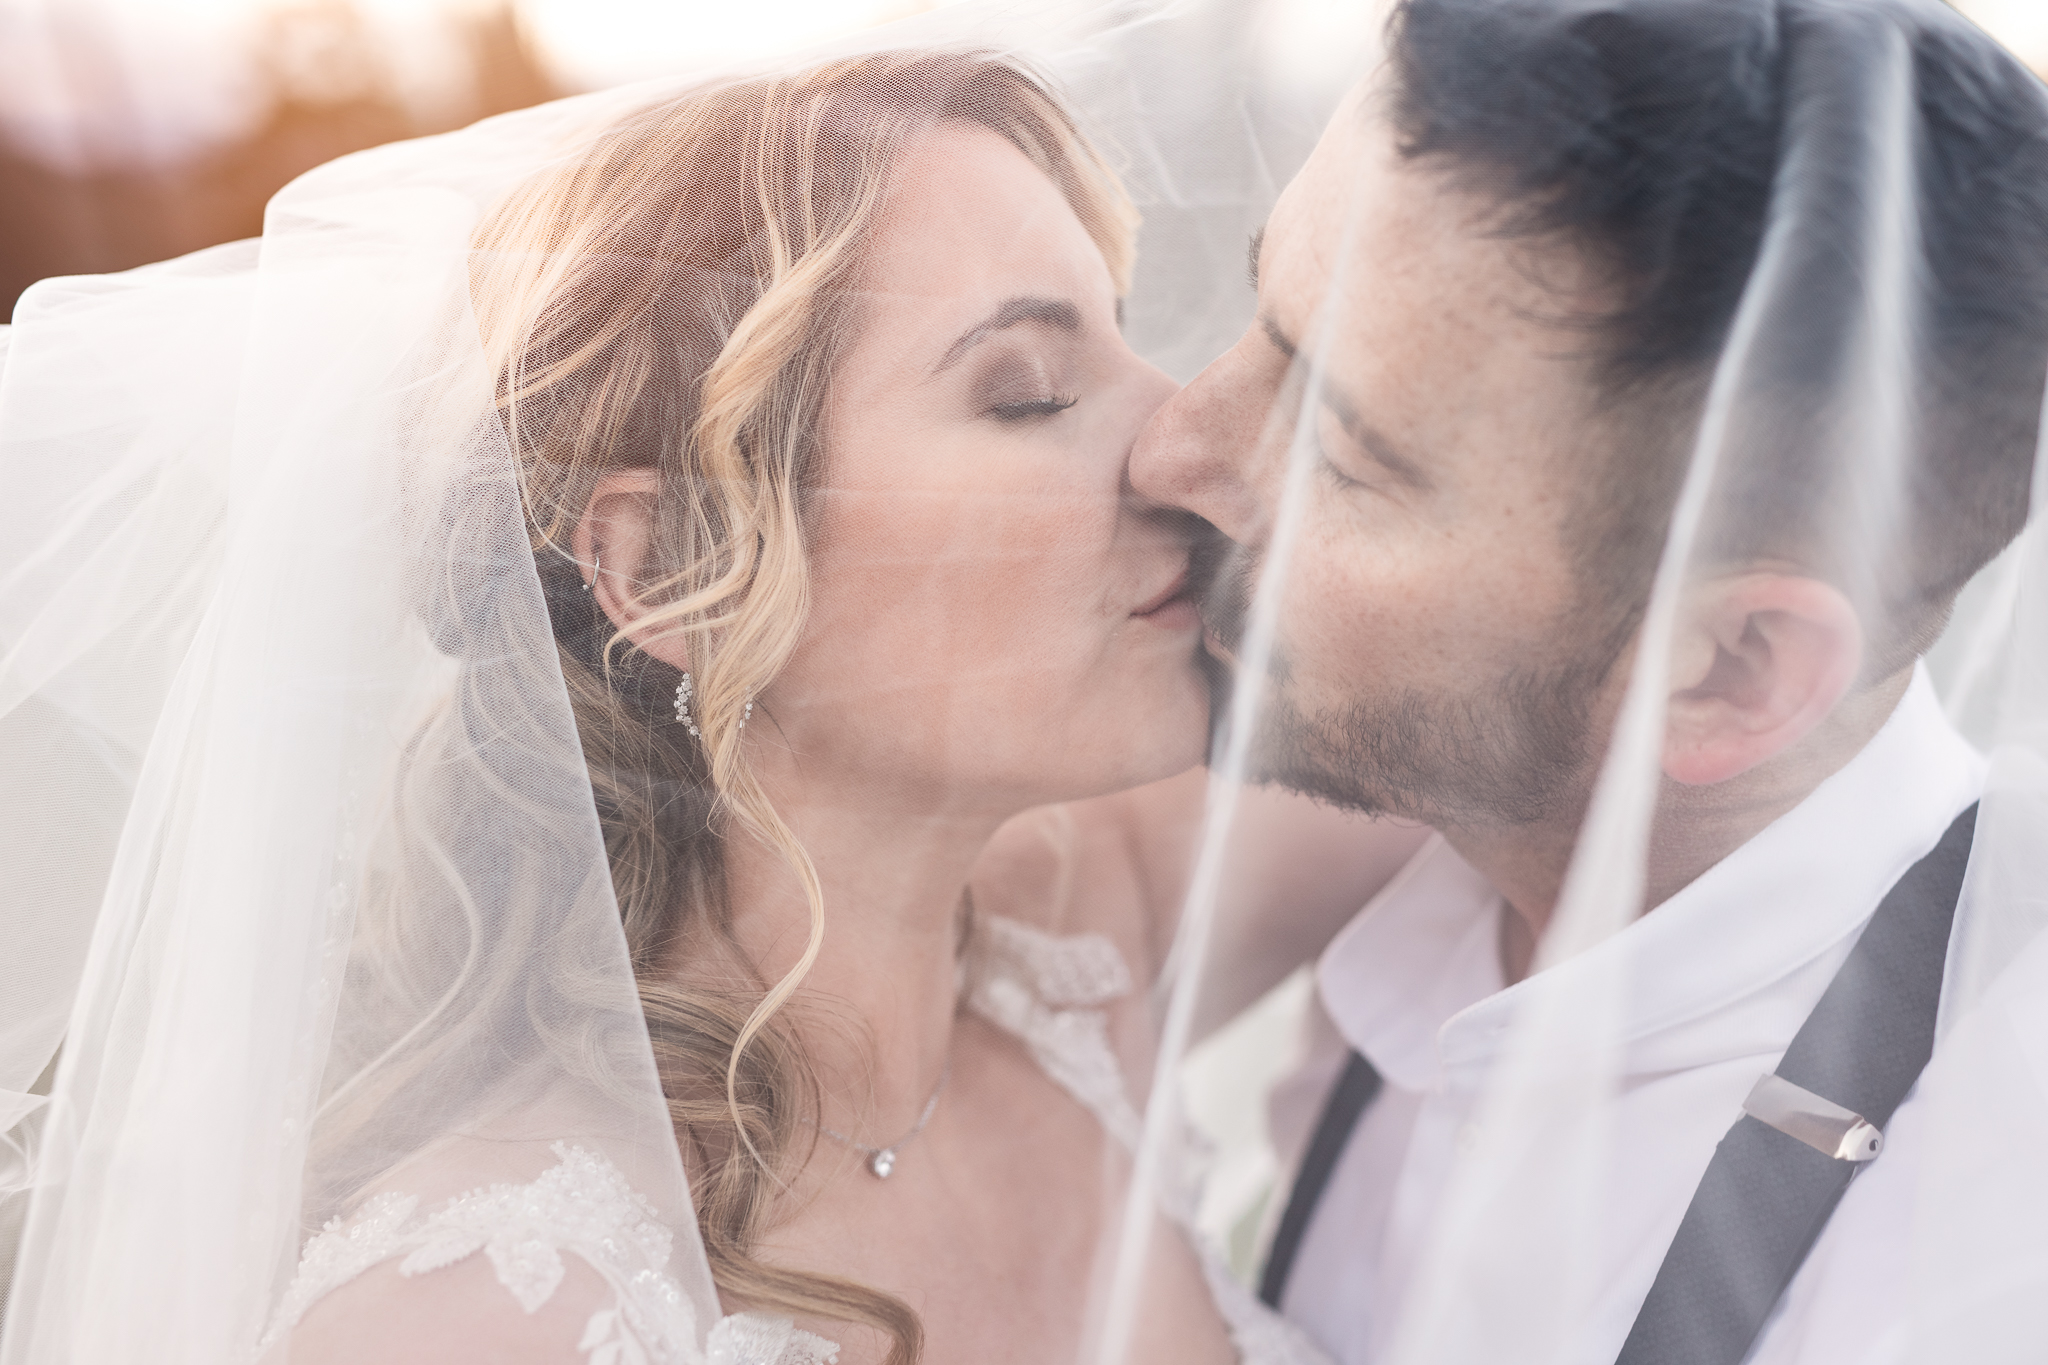
4. Elevates Intimate and Candid Moments
One of the most beautiful aspects of a cathedral veil is how it can be used to wrap around you and your partner. Creating a cocoon-like effect that highlights intimate moments. Also, your photographer can use the veil creatively to capture romantic shots where the two of you are wrapped together. Bringing a dreamy and private feel to these candid photos.
Pro Tip: For a more spontaneous feel, let your photographer capture moments with the veil draped over you as a couple. It adds a unique sense of closeness and intimacy that feels wonderfully personal.
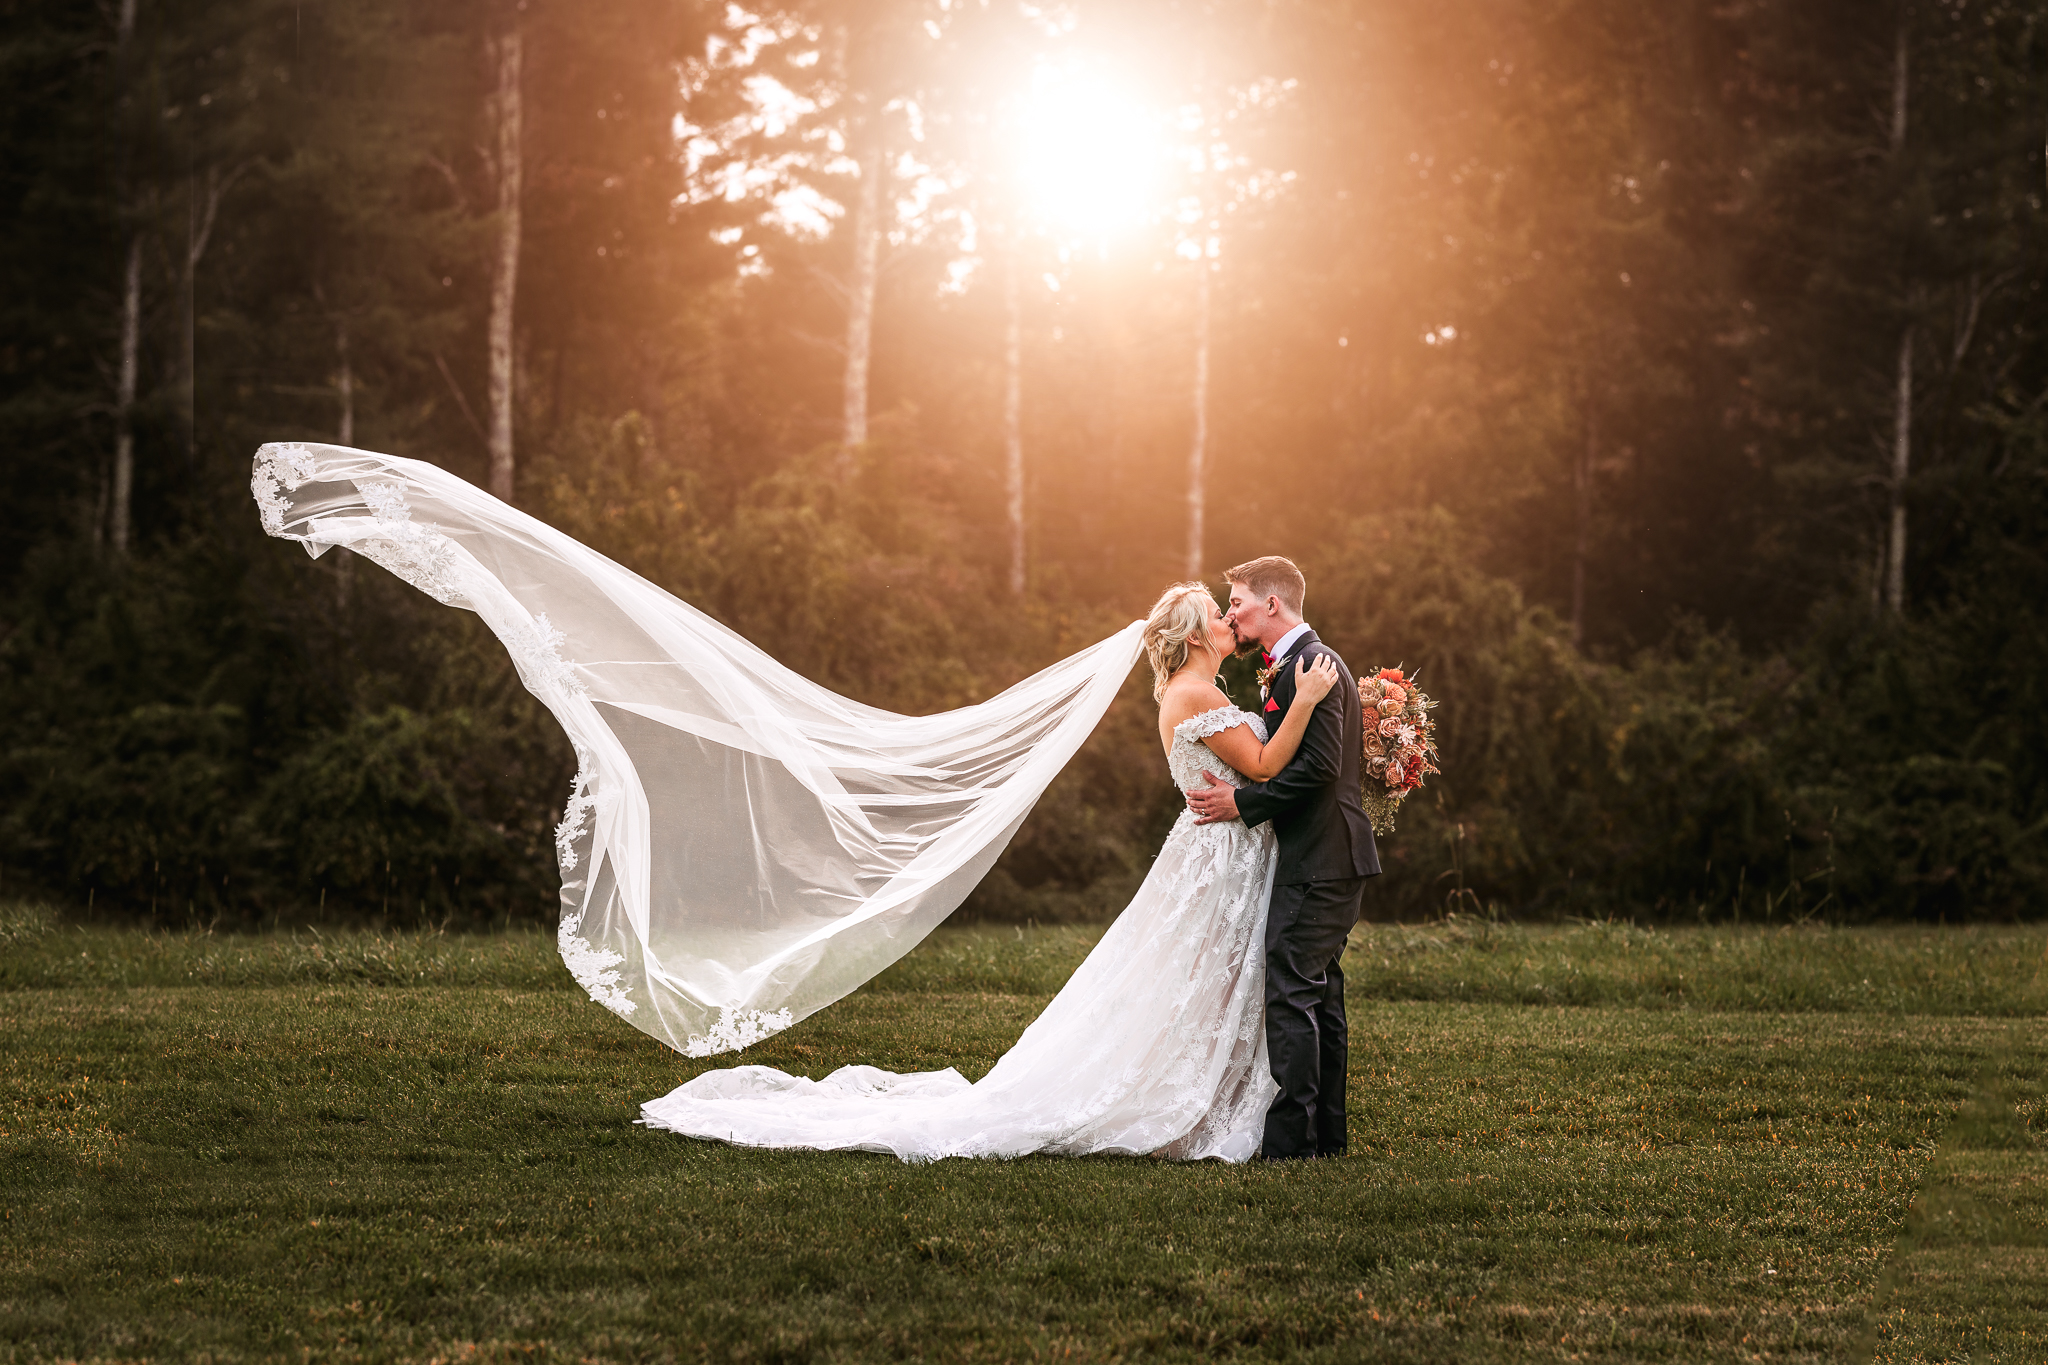
5. Cathedral Veil’s are Perfect for Dramatic Shots During Golden Hour
Golden hour photos are always stunning, but a cathedral veil takes them to the next level. As the sun sets and golden light fills the sky, your veil catches the glow, creating a soft, radiant effect that enhances the romance of evening photos. Backlighting makes the veil look like it’s glowing, adding a warm, ambient vibe that’s perfect for sunset portraits.
Pro Tip: Be sure to schedule a few moments for sunset portraits! The soft lighting paired with your cathedral veil will add a gorgeous, timeless feel to these special shots. For more on capturing the best light, check out What Time of Day is Best for Outdoor Photos.
Choosing a cathedral veil is a beautiful way to elevate your wedding photos with elegance and timeless charm. If you’re considering one, don’t hesitate to chat with your photographer about ideas for capturing its full potential on your day. It’s the perfect finishing touch for unforgettable, captivating photos!
Thinking About a Cathedral Veil? Let’s Make It Picture-Perfect!
If you’re envisioning stunning, timeless photos with the elegance of a cathedral veil, I’d love to help bring that vision to life! Let’s chat about how we can capture every magical detail of your wedding day. Reach out to start planning your dream photos!
Contact me today to learn more about wedding photography packages and schedule your session.





NEED STYLING TIPS FOR YOUR ENGAGEMENT SESSION?
DOWNLOAD MY 5 ENGAGEMENT STYLING TIPS TO LOVE THE WAY YOU LOOK!
October 11, 2024
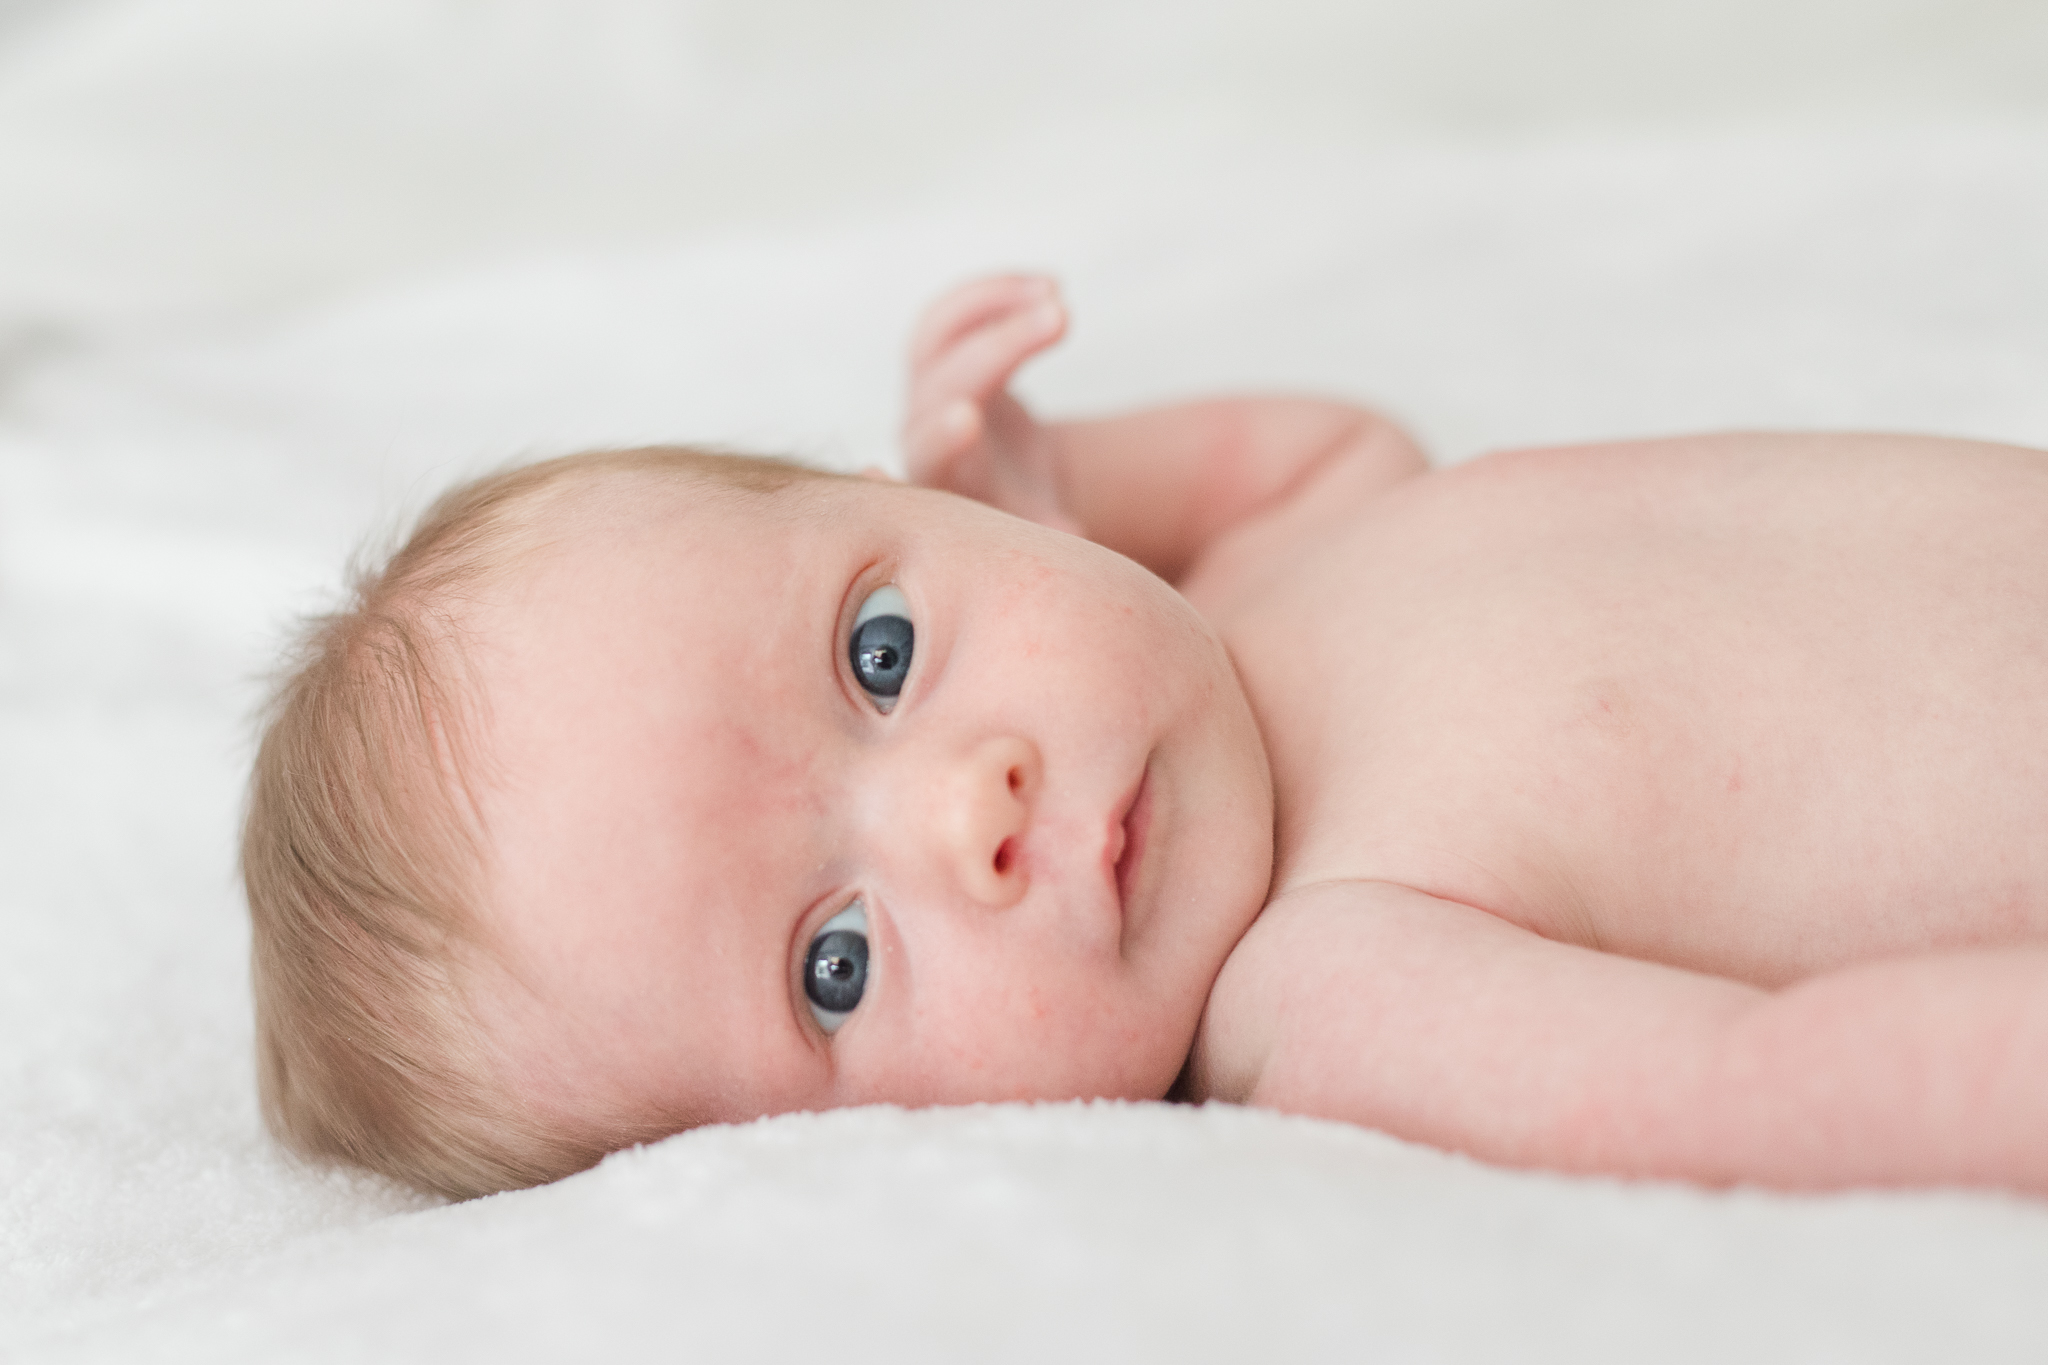
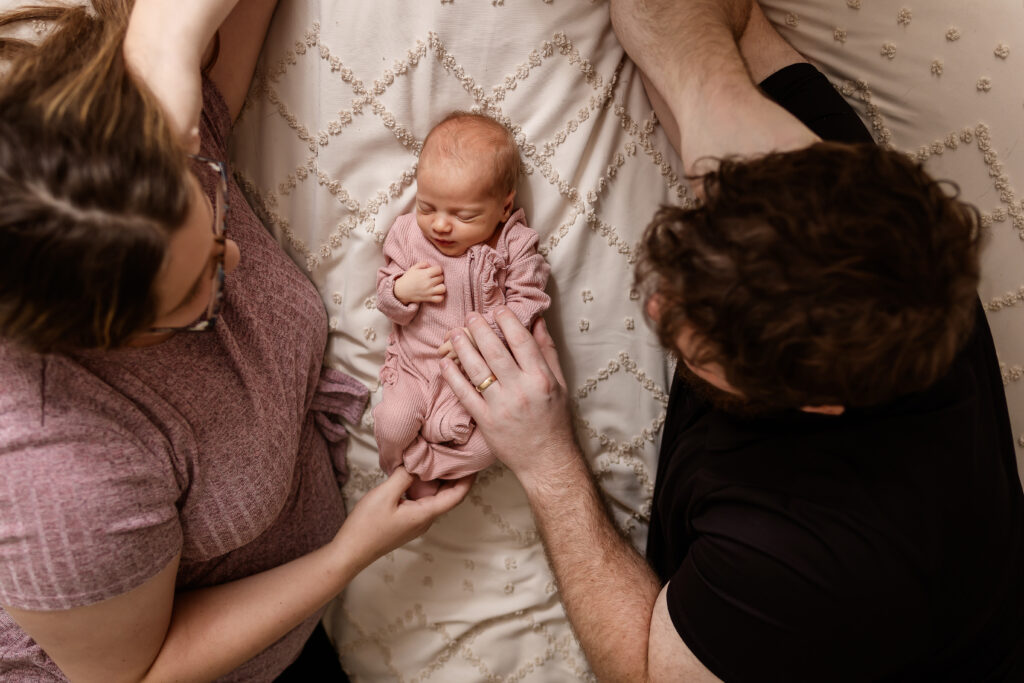
There’s something truly special about the first few weeks with a newborn. It’s a whirlwind of sweet moments, sleepless nights, and those precious firsts you’ll want to remember forever. That’s where a NH newborn photographer comes in! Imagine capturing all those memories right in the comfort of your own home. In-home newborn sessions are becoming a favorite for new parents, and for good reason. Let me share with you why they’re such a great option.
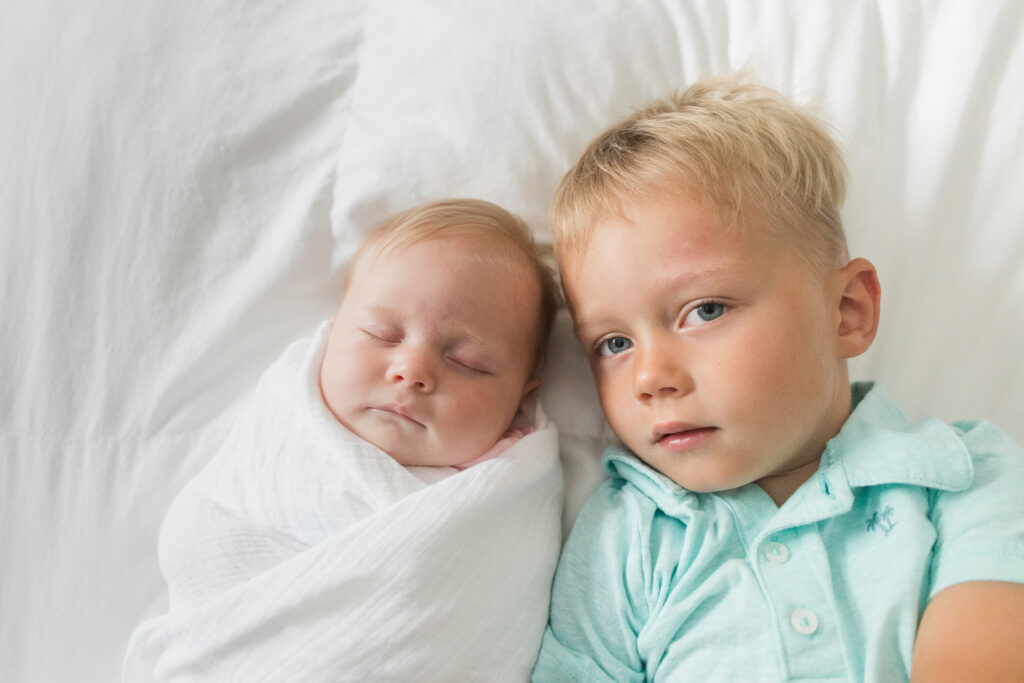
Comfort for Your Baby
Your baby is most comfortable in familiar surroundings, and that’s why a newborn photographer coming to your home can make all the difference. Keep your newborn in their happy place—whether that’s snuggled in your arms or lying in their crib. As a newborn photographer, I can help create a stress-free environment for your baby, where they feel safe and secure.
Flexibility with Feedings and Naps
Another perk of working with a NH newborn photographer in your own home is the flexibility it provides. We can easily take breaks for feeding or naps as needed. There’s no rush or pressure to stick to a strict timeline. This is especially important during those early weeks when your baby’s schedule can be a little unpredictable. This flexibility helps everyone stay relaxed and allows for the best possible photos.
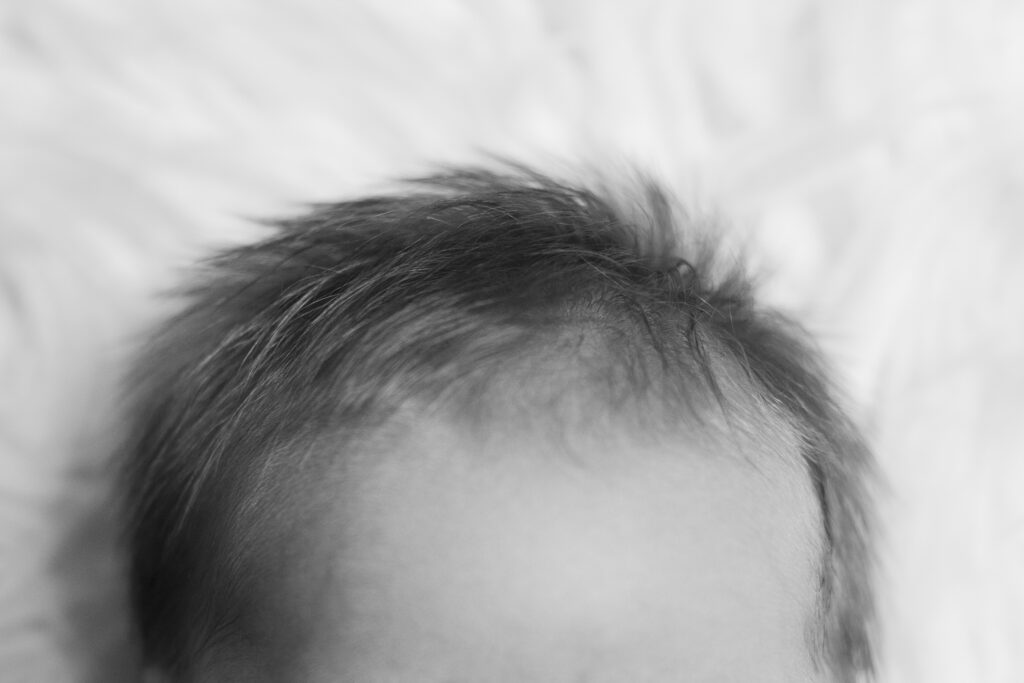
Natural, Candid Moments with a NH Newborn Photographer

One of the biggest benefits of hiring a NH newborn photographer for an in-home session is the opportunity to capture those natural, unposed moments. Instead of stiff, posed shots, we focus on the real interactions between you and your baby. Whether it’s the way they curl up in your arms or that sleepy yawn after a nap, these candid moments are what make your photos truly special.
In-home sessions allow me as your NH newborn photographer to capture those beautiful, spontaneous moments that showcase your connection as a family.
Personalized Setting
Your home is where your family’s story begins, and having an in-home session means that your photos can be taken in a place that is meaningful to you. As a NH newborn photographer, I’ve seen how incorporating your personal space makes the photos even more intimate and special. Whether we use your baby’s nursery, the living room, or even your bedroom, your home becomes part of the story.

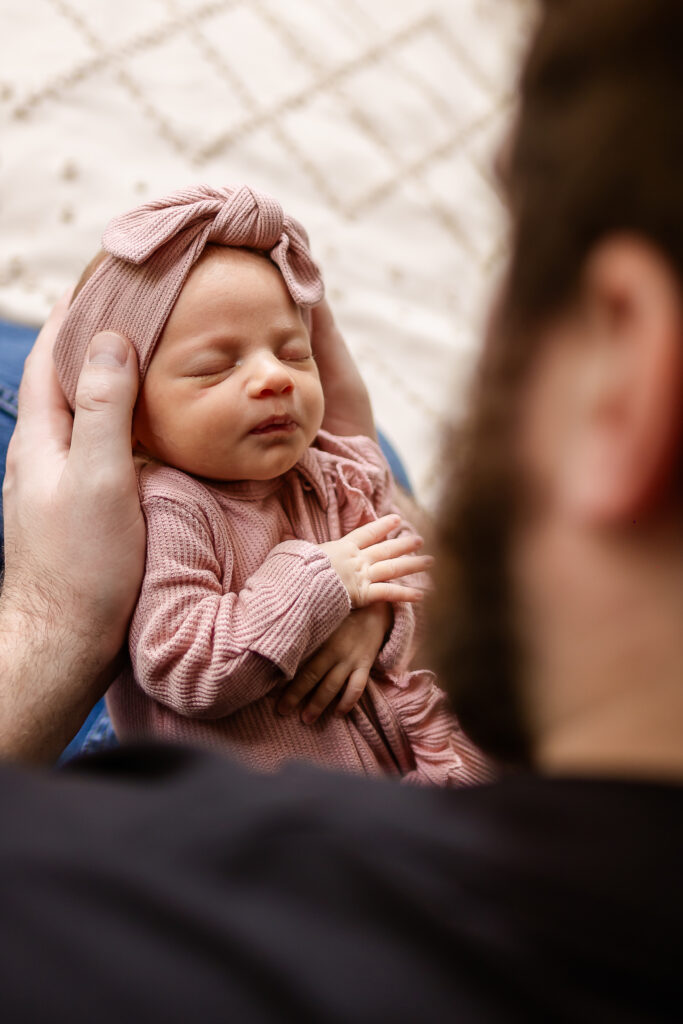
Convenience for New Parents
Let’s face it—getting out of the house with a newborn can be a challenge. That’s why having a newborn photographer come to you is such a game-changer. You don’t have to worry about packing up the diaper bag, rushing out the door, or navigating nap time around an appointment. With an in-home session, everything happens at your pace, in the comfort of your own space.
Taking Breaks as Needed
One of the biggest advantages of an in-home session is the ability to take breaks whenever needed. If your baby needs to eat, take a nap, or have a diaper change, we can pause and start again when everyone’s ready. This relaxed atmosphere makes the whole experience more enjoyable for both parents and baby.
Timeless Keepsakes from Your NH Newborn Photographer
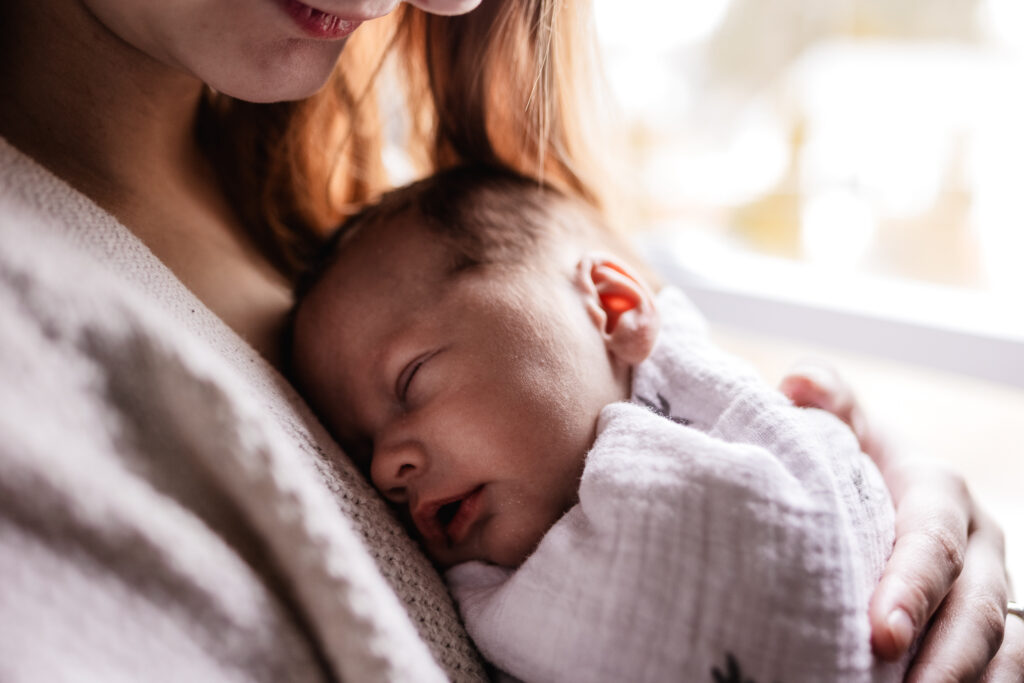
In-home newborn sessions create timeless keepsakes that you’ll treasure for years to come. These photos not only capture your baby’s first moments but also the love and connection that fill your home. As a newborn photographer, I know how important it is to preserve these fleeting moments, and in-home sessions offer a beautiful, personal way to do just that.
Years from now, when you look back at these photos, you’ll remember not just what your baby looked like, but how it felt to hold them in those early weeks. You’ll see your home—the place where your family’s journey began—and all the love that filled it during those precious first moments.
Why an In-Home Session with a NH Newborn Photographer is the Way to Go
Choosing an in-home session with a NH newborn photographer offers so many benefits: comfort for your baby, a relaxed and natural atmosphere, and the opportunity to create truly personalized and meaningful images. It’s a stress-free way to capture the beauty of those first few weeks with your new baby.
If you’re looking for a way to document your newborn’s earliest moments in a setting that’s intimate, convenient, and filled with love, an in-home session is the perfect option. As a NH newborn photographer, I’d be honored to help you capture these memories in a way that’s as unique and special as your family.
When you’re ready, reach out, and let’s make sure those first moments with your newborn are captured forever!

YOU MAY ALSO BE INTERESTED IN:
October 8, 2024
One of the most fun moments after you say, “I do” is your walk back down the aisle—this is where the celebration truly begins! And what better way to add some flair to your big exit than with a romantic mid-aisle dip kiss? It’s playful, dramatic, and, most importantly, makes for amazing photos. But nailing that dip can take a little practice and planning to make sure it goes off without a hitch.
Whether you’ve been dreaming about this moment or just now thinking, “Hmm, that would be fun,” I’ve got you covered! Here are 5 essential tips to make sure your mid-aisle dip kiss is flawless, fun, and beautifully captured.
1. Practice Makes Perfect
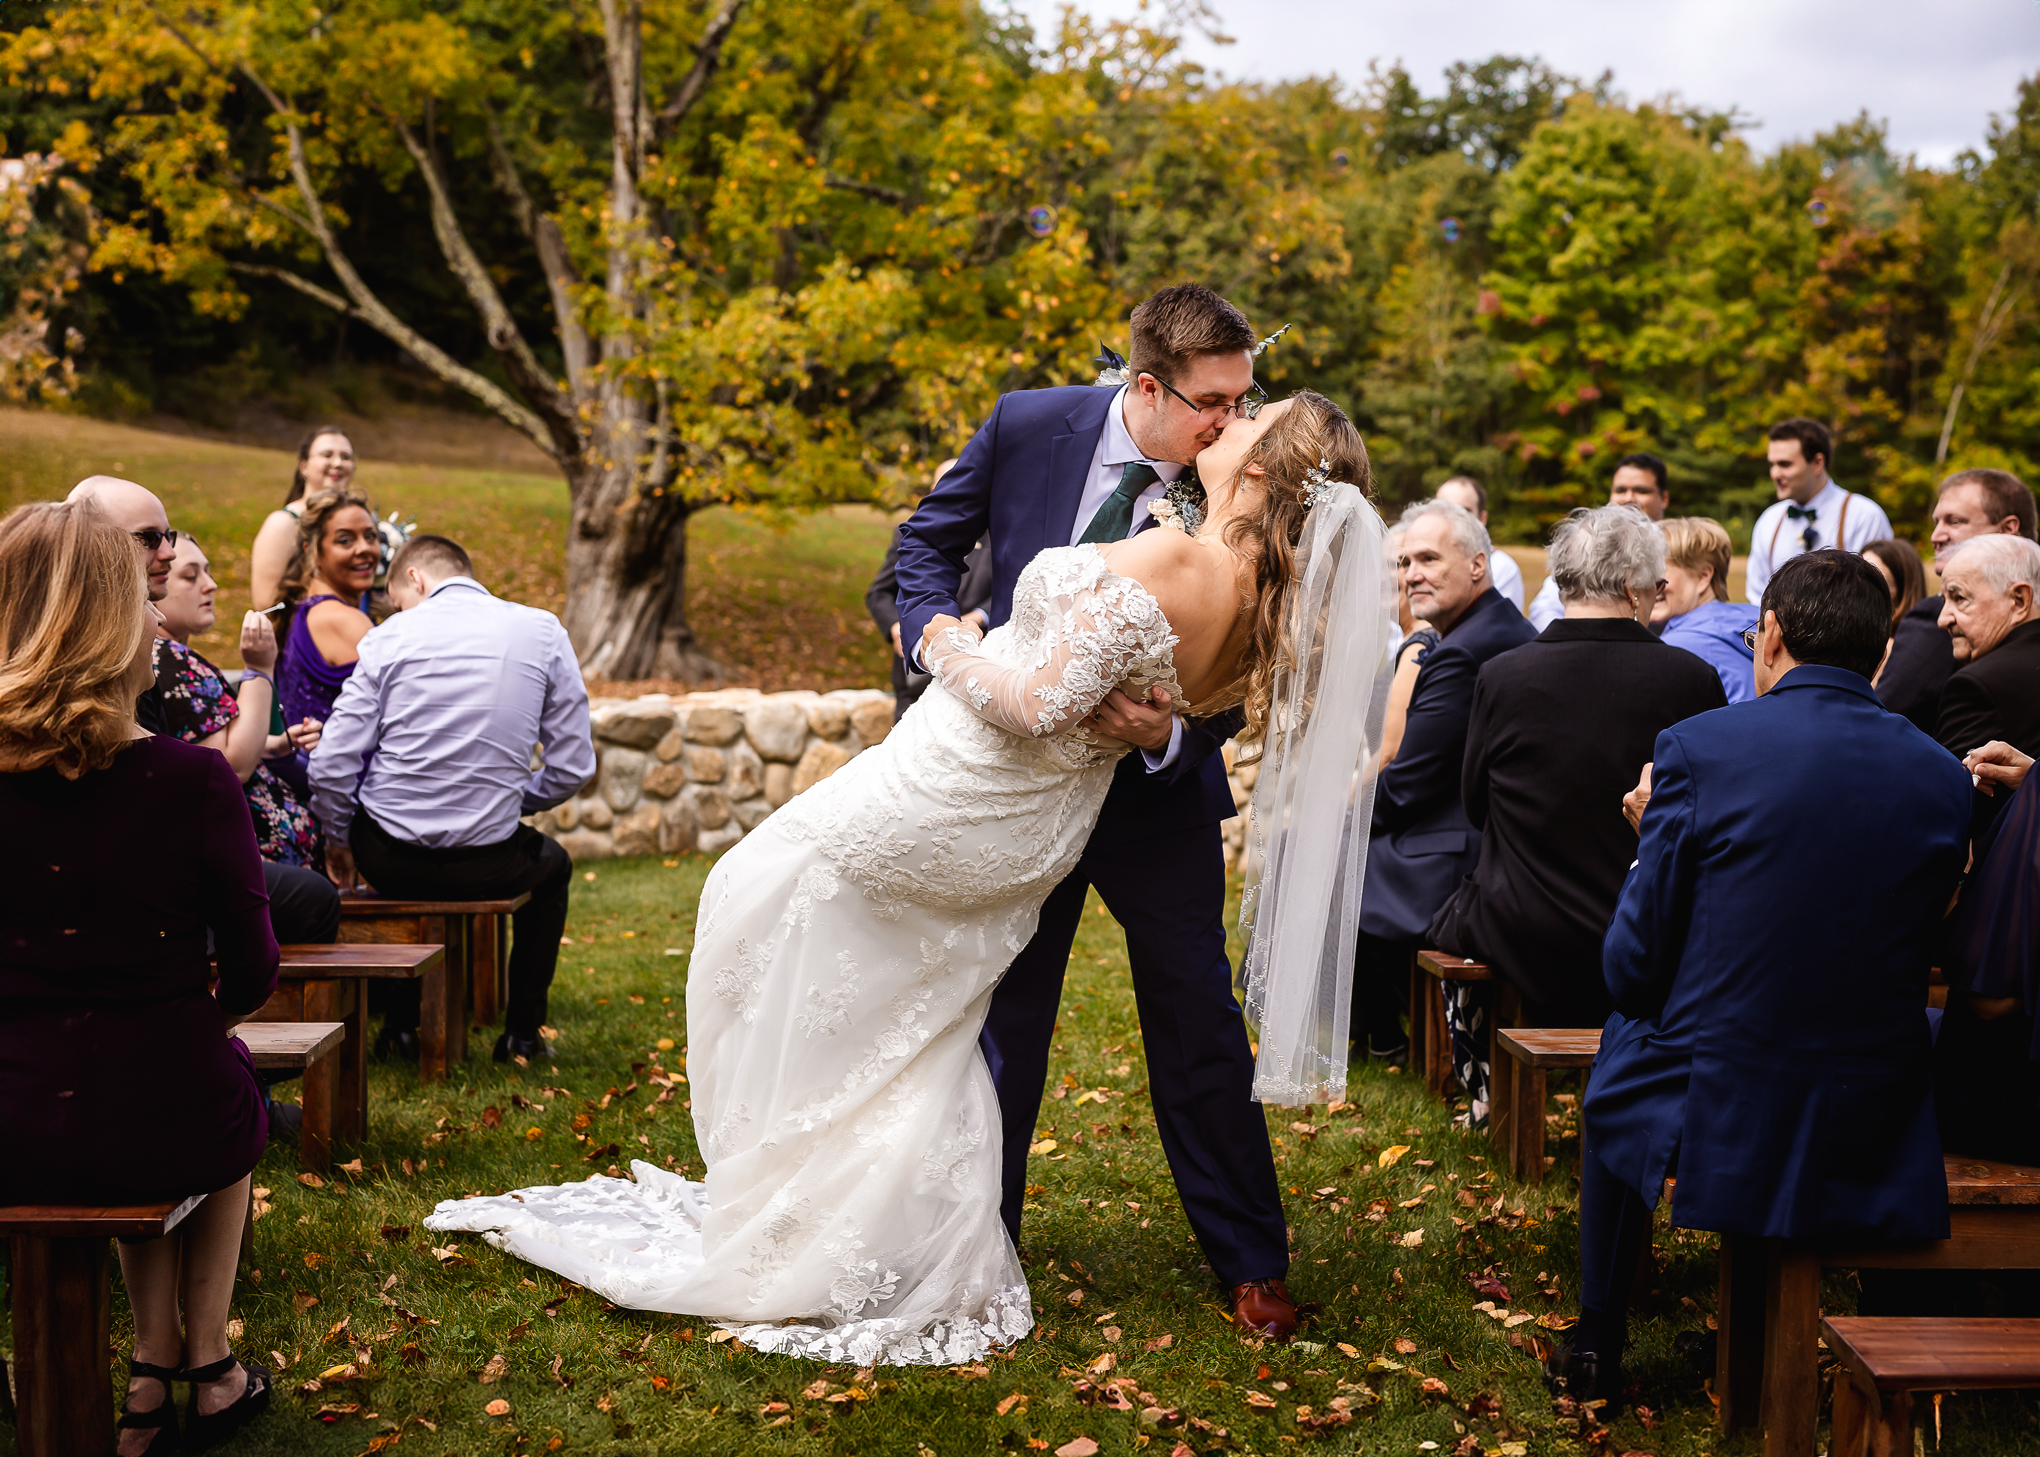
I know it sounds obvious, but practicing your dip kiss is key! You don’t want this to be the first time you and your partner try it, only to end up feeling awkward or (worst-case scenario) wobbling in front of your guests.
When and Where to Practice Your Dip Kiss
If possible, work the dip into your wedding rehearsal. Not only will you already be practicing your walk down the aisle, but you’ll also get a feel of the environment and space around you. If you’re wearing heels, it’s especially important to practice with them on! Your balance will be different, and the last thing you want is a heel mishap mid-dip.
If you can’t practice at the rehearsal, do a few test runs at home. Clear a bit of space in the living room, pop on your playlist, and give it a go. You’ll be surprised how much more confident you feel after just a few tries!
I’ve seen couples try to “wing it” during the ceremony, and let’s just say it’s much more fun (and looks way smoother) when you’re familiar with the move. Plus, practicing together is a great way to connect and share some laughs before the big day!
2. Don’t Miss the Moment: Tell Your Photographer About Your Dip Kiss Plan
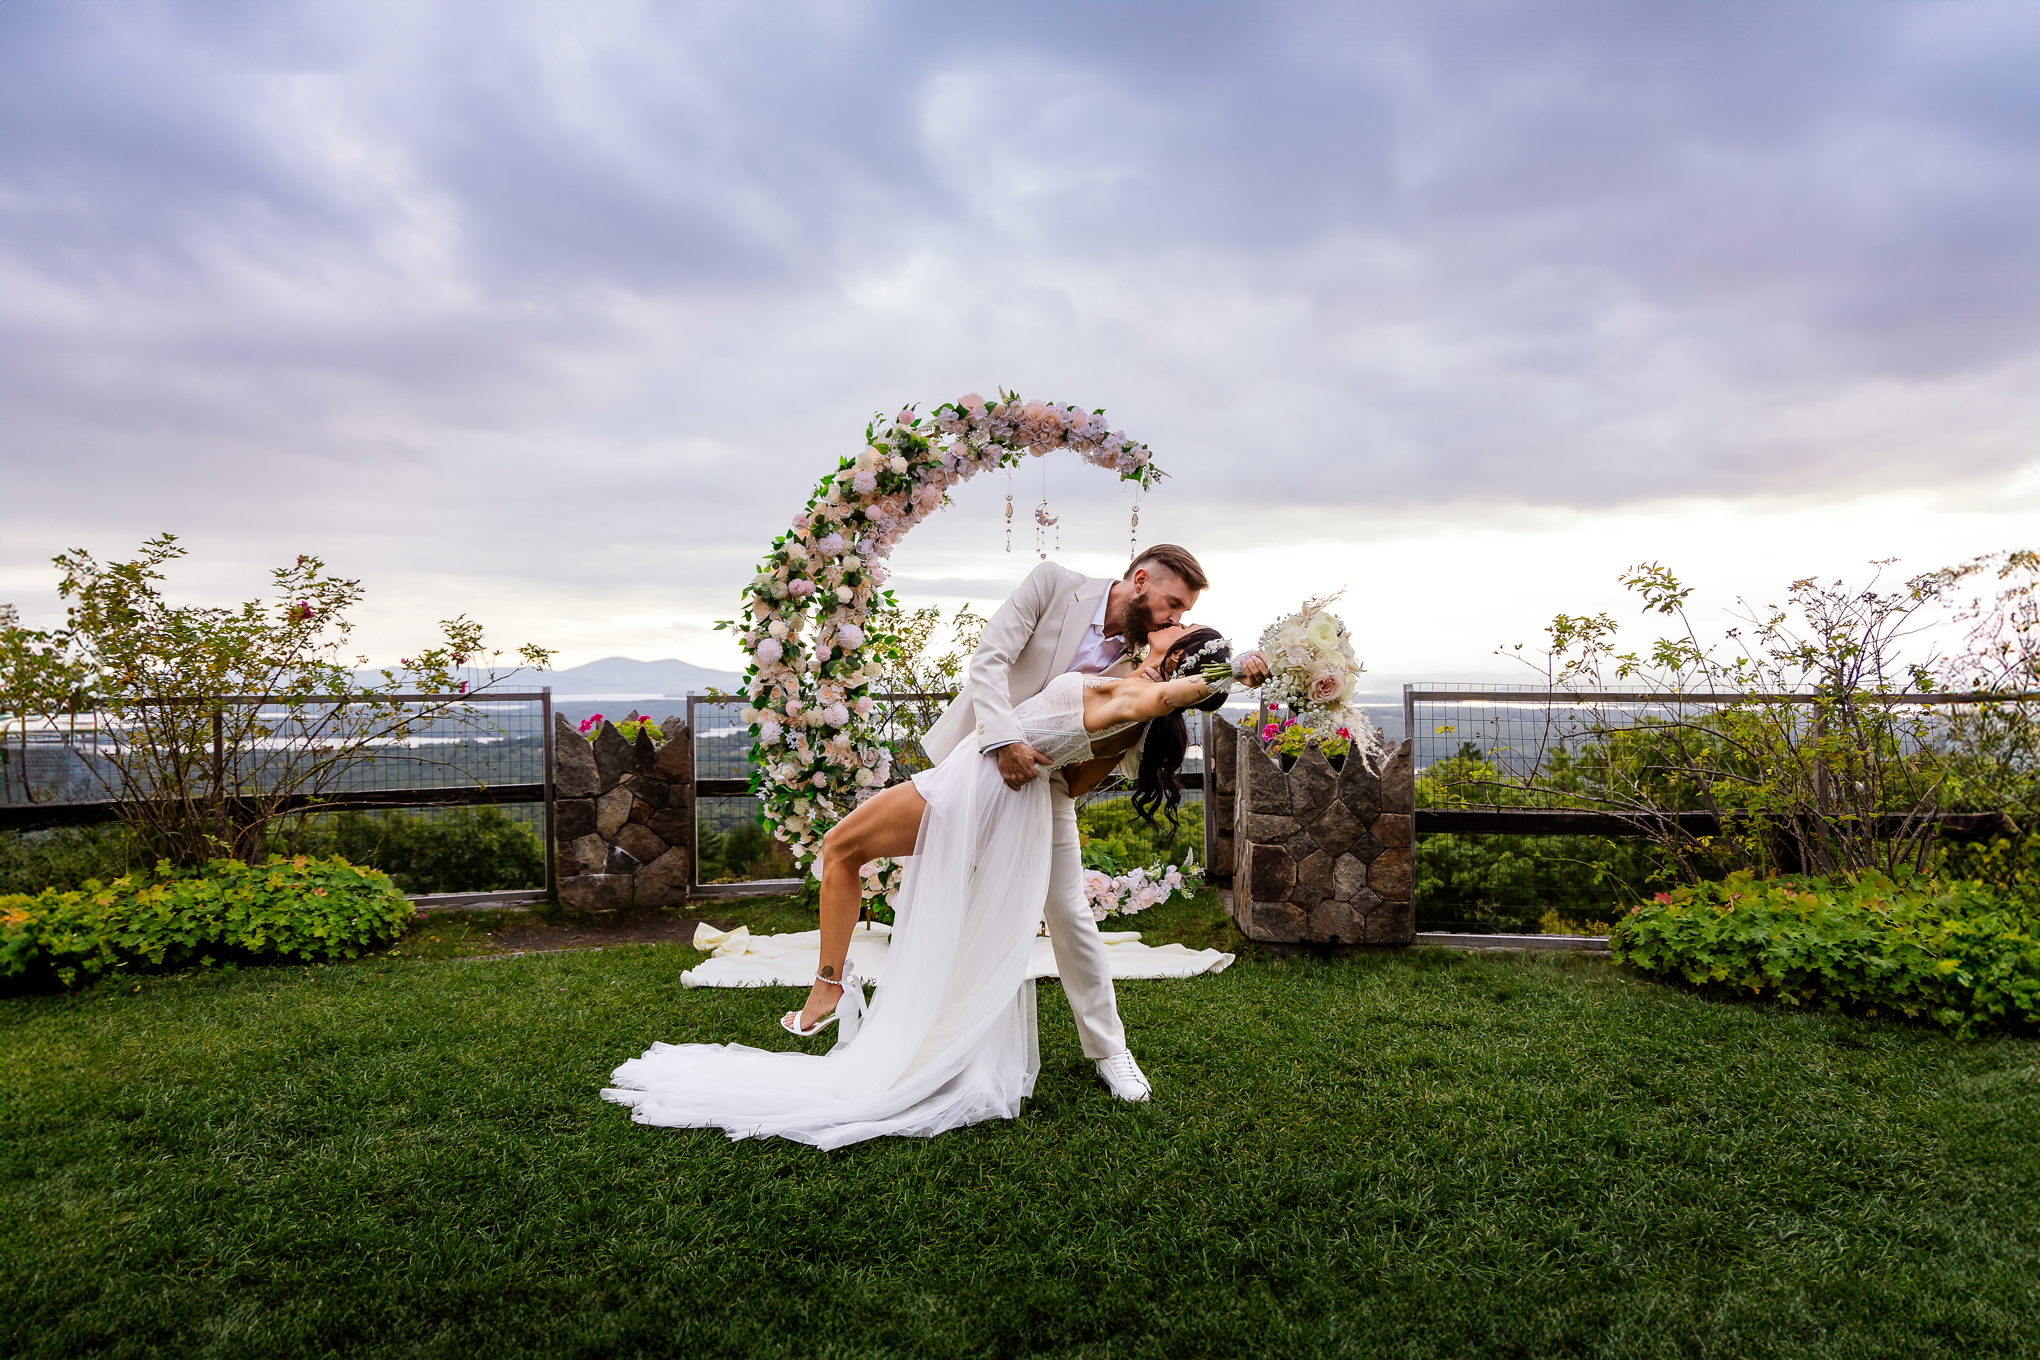
Your photographer is your biggest ally in capturing the perfect dip shot! Before your ceremony, let them know that you plan to do a dip as you exit the aisle. Trust me, they’ll thank you for the heads-up.
Timing and Angle Are Everything
If your photographer knows when and where you’ll be doing the dip, they can position themselves to get the absolute best shot. Dips are all about the angle, and photographers are pros at knowing how to make you look your best. Giving them a heads-up allows them to be ready with the perfect lens and in the right spot to catch the magic moment.
3. Make Sure Your Aisle Is Wide Enough for Your Dip Kiss
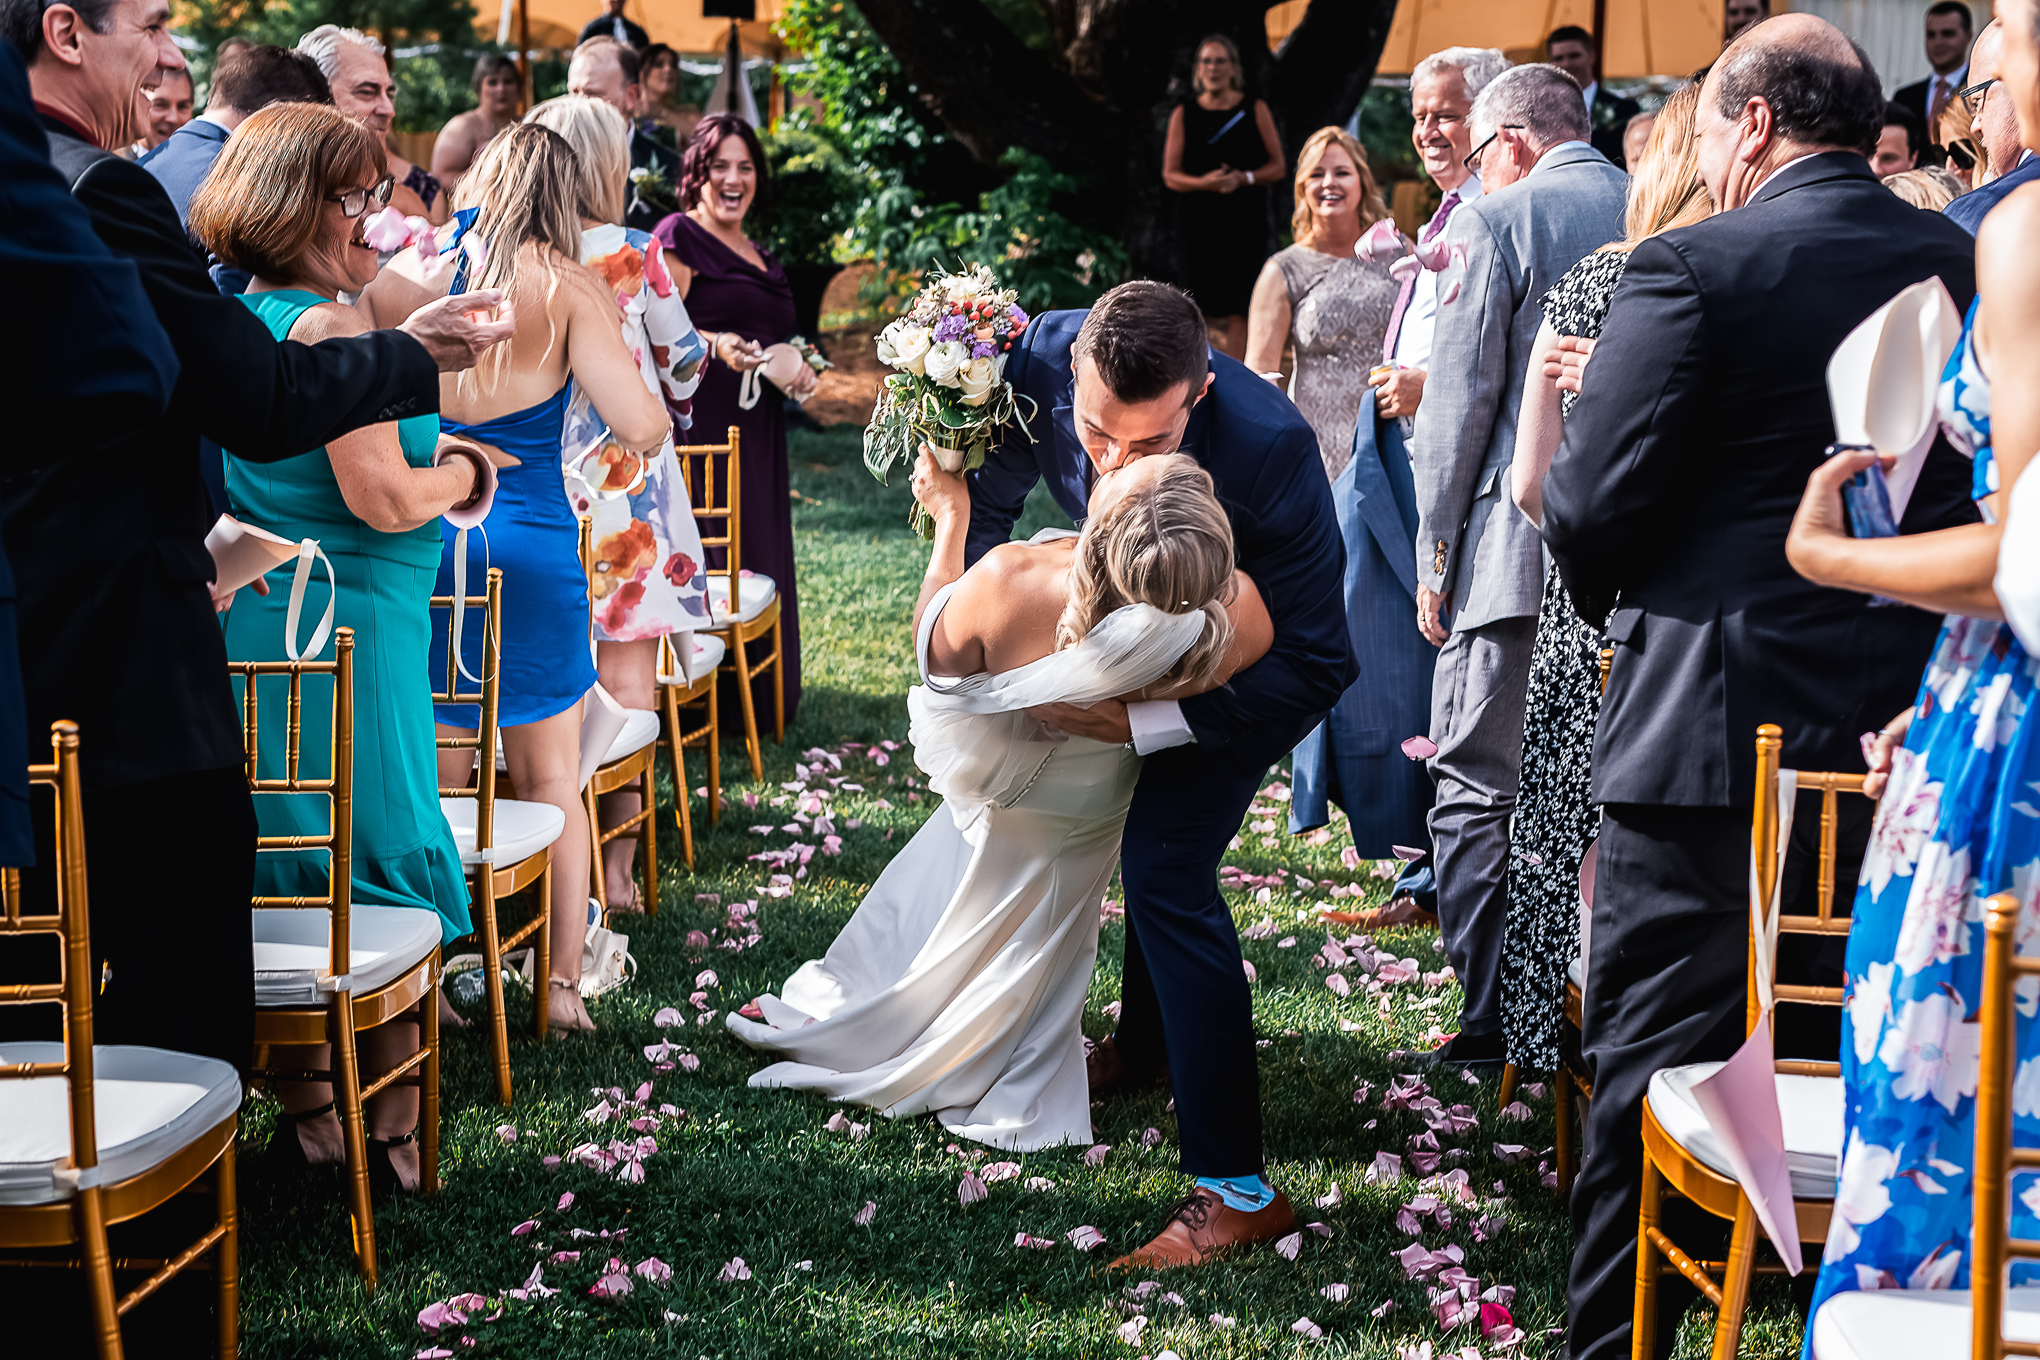
This is one that might not cross your mind until it’s too late, but trust me, it’s crucial: double-check your aisle width. You need enough space to dip without bumping into chairs, decorations, or, worst of all, your guests.
How Wide is “Wide Enough”?
For most venues, the aisle is wide enough to accommodate your grand exit and dip, but there are some places—especially more intimate venues—where the aisle might be narrow. Ideally, you’ll want about 6-8 feet of space to comfortably pull off the dip without feeling cramped.
If you’re working with a smaller or more decorative aisle, don’t panic! Just make sure your planner or coordinator knows you’ll need a bit of breathing room at the end for your dip, and they can help ensure the space is clear.
4. Face Your Photographer at the End of the Aisle
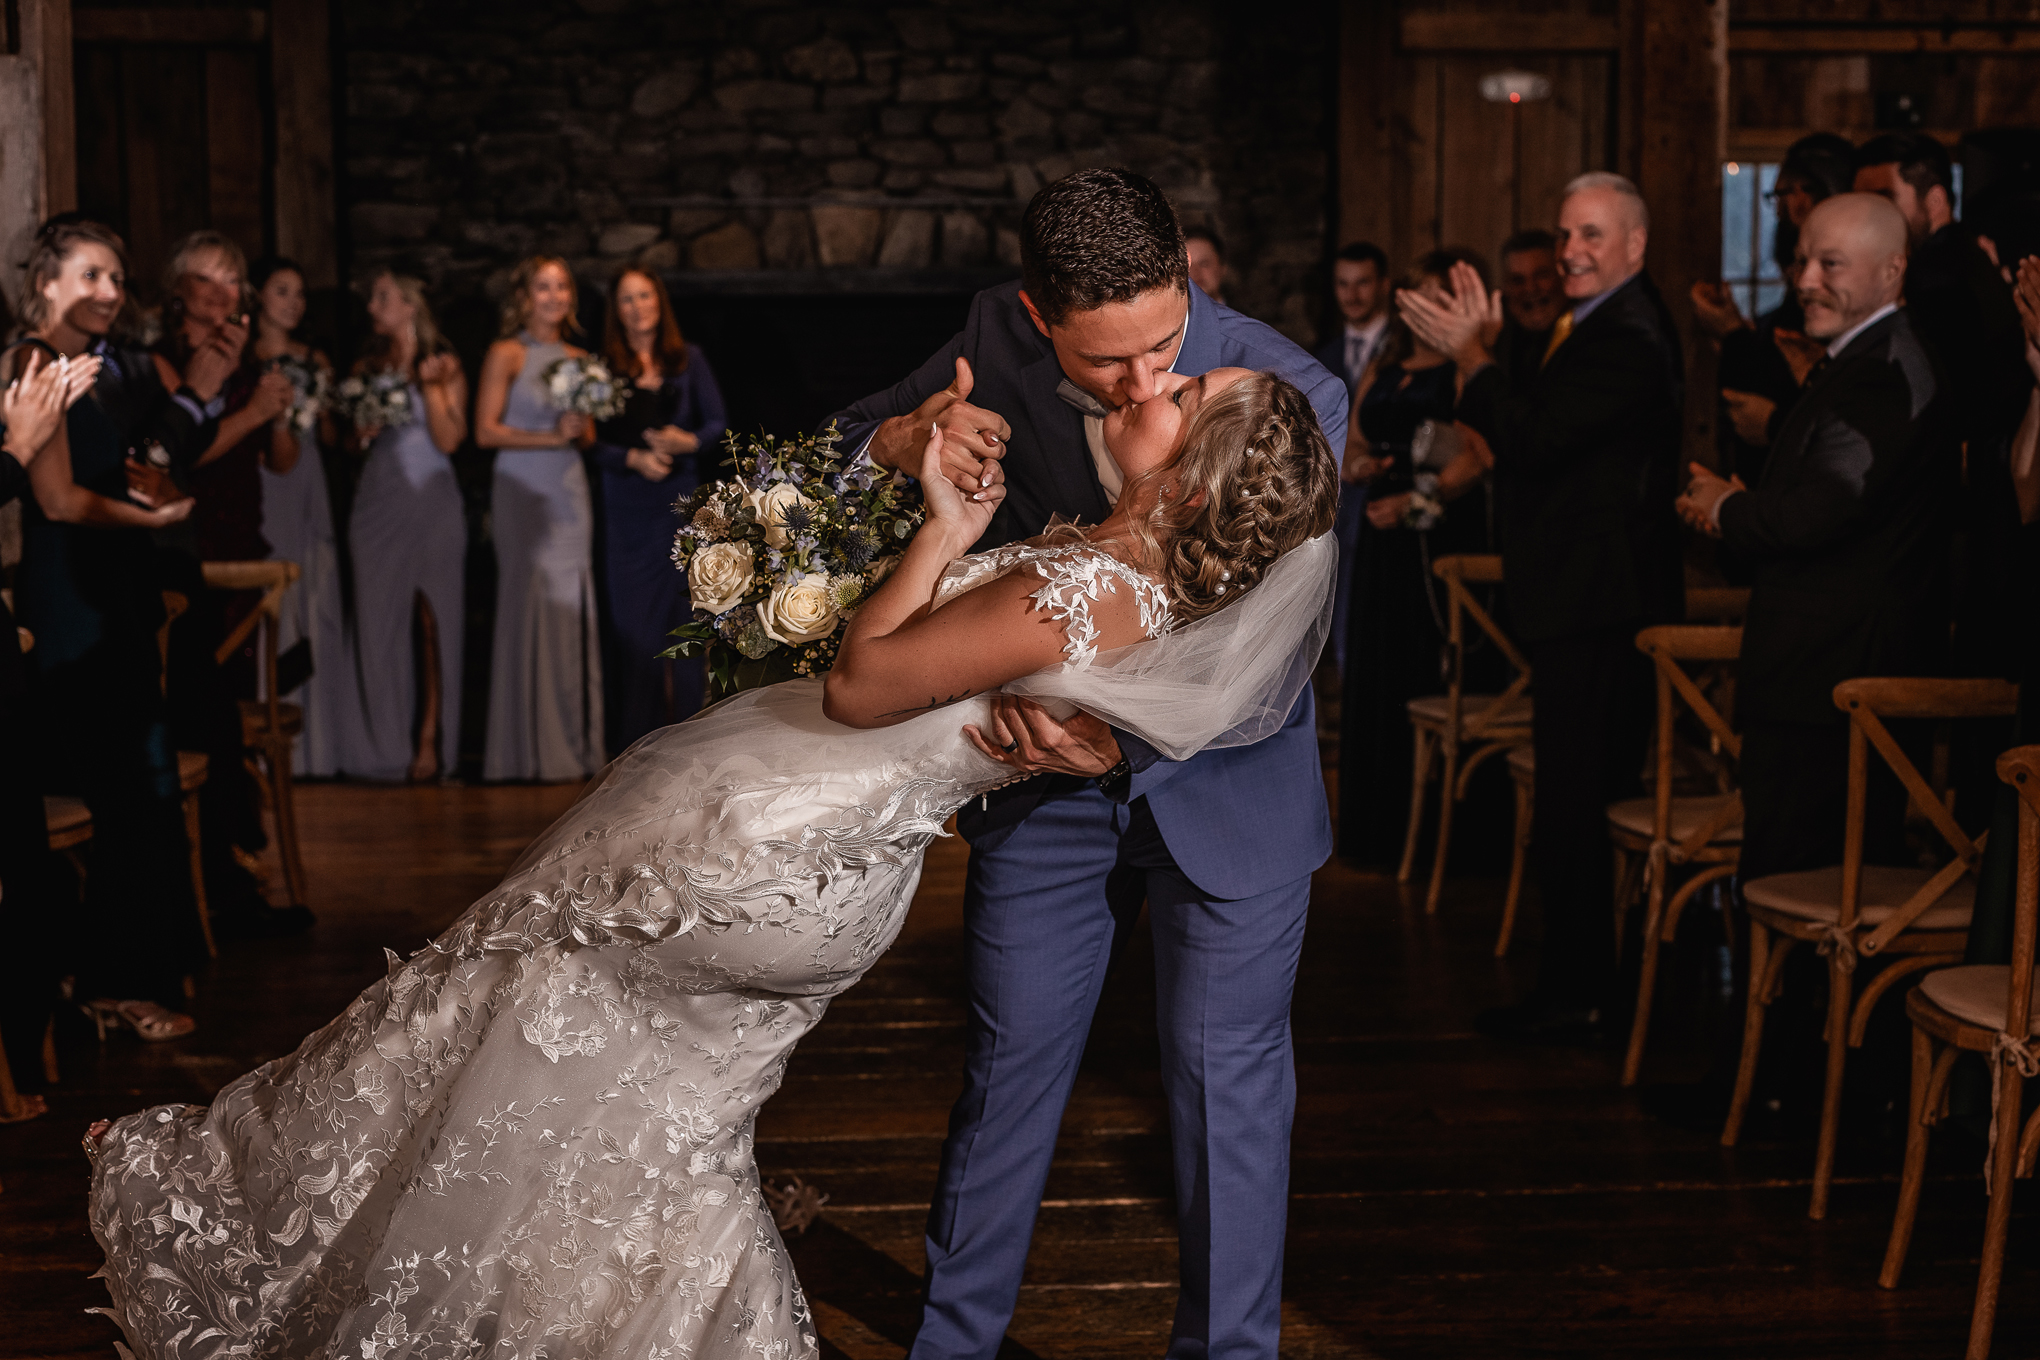
This is a pro-tip that makes all the difference for capturing that picture-perfect moment: make sure the groom/partner is square to the photographer. It’s so easy to get caught up in the moment, but a little attention to your positioning can go a long way.
Why Positioning Matters
If your photographer is at the end of the aisle and you’re facing another direction, they might not capture the most flattering angle of the dip. And, let’s be honest, you want that dip to be epic!
I’ve seen couples dip kiss sideways, and while it’s always cute, the photos sometimes don’t do the moment justice because of the angle. So, make sure you’re squared up to your photographer before going all-in on the dip kiss!
5. Alternative Poses if the Dip Kiss Isn’t for You
Not everyone feels comfortable with the idea of a full-on dip, and that’s totally okay! If the dip isn’t your style or feels a bit too tricky, there are plenty of other options to make your aisle exit just as special and photogenic.
Try a Twirl or a Lift
One great alternative is a playful twirl. The bride can give a spin as she holds the groom’s hand, adding movement and elegance to the moment. It’s simple, easy, and still makes for stunning photos!
Another idea is a lift—and it doesn’t have to be a big, dramatic one. Even just a quick pick-up where the groom lifts the bride by the waist can be a sweet and joyful moment that feels effortless.
Keep It Classic with a Kiss
If you want to keep it simple but still romantic, go for a classic kiss at the end of the aisle. Just stop, face each other, and share a moment of celebration. This timeless move never fails to look amazing in photos, and it’s less physically demanding than a dip or lift.


Ready to Master Your Mid-Aisle Dip?
Check out this quick how-to video for a visual guide on perfecting your dip kiss and making it look effortless. Watch the video here on Instagram and get ready to steal the show with your picture-perfect moment!
Own Your Dip Kiss
The mid-aisle dip kiss (or any celebratory exit pose) is a fantastic way to close out your ceremony with style. Whether you go for the classic dip or choose another move that fits your vibe, what matters most is that you and your partner enjoy the moment together. Remember to practice, communicate with your photographer, and most importantly, have fun!
After all, this moment is yours to celebrate—make it one you’ll love looking back on in photos for years to come.
And there you have it! With these tips in mind, you’ll be ready to rock your mid-aisle dip (or alternative move) like a pro. Whether you’re dipping, twirling, or kissing, enjoy every second of that post-ceremony glow. you’ve earned it!
Let’s chat about how I can help you capture every stunning moment of your big day, from your aisle exit to those candid celebrations! Contact me today to start planning your dream wedding photos. I can’t wait to hear from you!
TIPS TO LOVE THE WAY YOU LOOK!
free guide: 5 engagement styling
5 engagement styling tips to love the way you look
send me the guide
the free guide

Stop stressing and start loving the way you look with this comprehensive 5-Tip guide!

